This shader will be making use of the height-blending / lerping shader include described on my previous blog. If you want to find out how that works it’s all covered here.
For many games a dynamic weather system is as important as a day night cycle. Sometimes this is just to provide randomised weather events to add variation, and other times this is part of a scripted event, or area based trigger. Whatever the reason for the effects, it’s important that the environment reacts to the weather.
This blog will be the first in a series creating a shader that adds various dynamic weather effects to surfaces. For this post, we’ll cover adding dynamic standing ground water to any surface. Everything covered in this post is available as a download at the end.
[imglink img=”313″ link=”Procedural Material by Sebastien Rousseau” href=”https://srousseau.carbonmade.com/”]The material we’ll be using for this tutorial is Sebastien Rousseau’s fantastic winning entry for the Allegorithmic Substance Designer 2015 Contest. The download includes the material, ready to use in Unity![/imglink]
All of the code in the following post is written in C# or HLSL/Cg for Unity 5.5, but the maths and general principles involved should apply to any modern 3D engine.
Creating a basic starter shader
Before we can get into fancy weather effects, we need a decent basic starter shader to work from. I will cover my basic shader properly in another post, but there are a couple of things to take note of.
First up, I use surface shaders wherever possible for these kind of effects as we want access to all the PBR goodness and automated re-targetting of the Unity Standard shader. It’s also generally much simpler as many of the nastier calculations are taken care of for you.
One thing I always ensure I do is use the Standard Shader default property names. This then allows you to switch your material between shaders without having to make a lot of changes in the inspector. It also allows you to use the shader with Substances much more easily.
For this shader, all we need are the following 5 textures:
|
1 2 3 4 5 6 7 8 9 10 |
Shader "Custom/Website - WeatherFX Example" { Properties { _MainTex("Albedo", 2D) = "white" {} _BumpMap("Normal Map", 2D) = "bump" {} _MetallicGlossMap("Metallic", 2D) = "black" {} _ParallaxMap("Height Map", 2D) = "grey" {} _OcclusionMap("Occlusion", 2D) = "white" {} } |
contains the albedo / diffuse map on the RGB channels and the alpha transparency on the A channel. contains the normals, although these will have been packed for various reasons – more on that later. contains the metallic data on the R channel and smoothness (not roughness!) data on A. ParallaxMap contains the heightdata which we use for the heightblend() function on the R channel, and _OcclusionMap contains ambient occlusion data, also on R. The way this is packed is somewhat wasteful, but we’ll keep it like this to retain standard shader compatability.
Once we have these in place, we need to create interpolaters for each. Despite the complicated name, that’s just a case of declaring each one as a sampler2d.
|
1 2 3 4 5 |
sampler2D _MainTex; sampler2D _BumpMap; sampler2D _MetallicGlossMap; sampler2D _ParallaxMap; sampler2D _OcclusionMap; |
Then we need to define the surface shader method itself. For our template shader, this is very simple again:
|
1 2 3 4 5 6 7 8 9 10 11 12 13 14 15 16 17 18 19 20 21 22 23 |
void surf(Input input, inout SurfaceOutputStandard output) { // Get this first to make it easier to distort the UVs float2 uv = input.uv_MainTex; // Get the main PBR material float4 diffuse = tex2D(_MainTex, uv); float3 albedo = diffuse.rgb; float4 metallicGloss = tex2D(_MetallicGlossMap, uv); float3 normal = UnpackNormal(tex2D(_BumpMap, uv)); float metallic = metallicGloss.r; float smoothness = metallicGloss.a; float occlusion = tex2D(_OcclusionMap, uv).r; // Process the PBR data here // Set the final data to the output output.Albedo = albedo; output.Normal = normal; output.Metallic = metallic; output.Smoothness = smoothness; output.Occlusion = occlusion; } |
I have extracted the data out seperately from the assignment to the surface to make it easier to layer effects over the top. It also makes it easier in the future to switch out which channels the PBR data is packed into, so once the effect is finished we can maximise the performance. The basic shader template is included in the download for this blog.
It’s worth taking note of the special approach that has to be taken with any normal maps. Unity packs the X and Y data from the original normal map into the G and A channel of the map it passes to the shader. UnpackNormal then maps those back to the proper channels, as well as reconstructing the Z / B data, based on the fact the total normal vector length must equal 1.
We’re finally ready to use the shader in the scene!
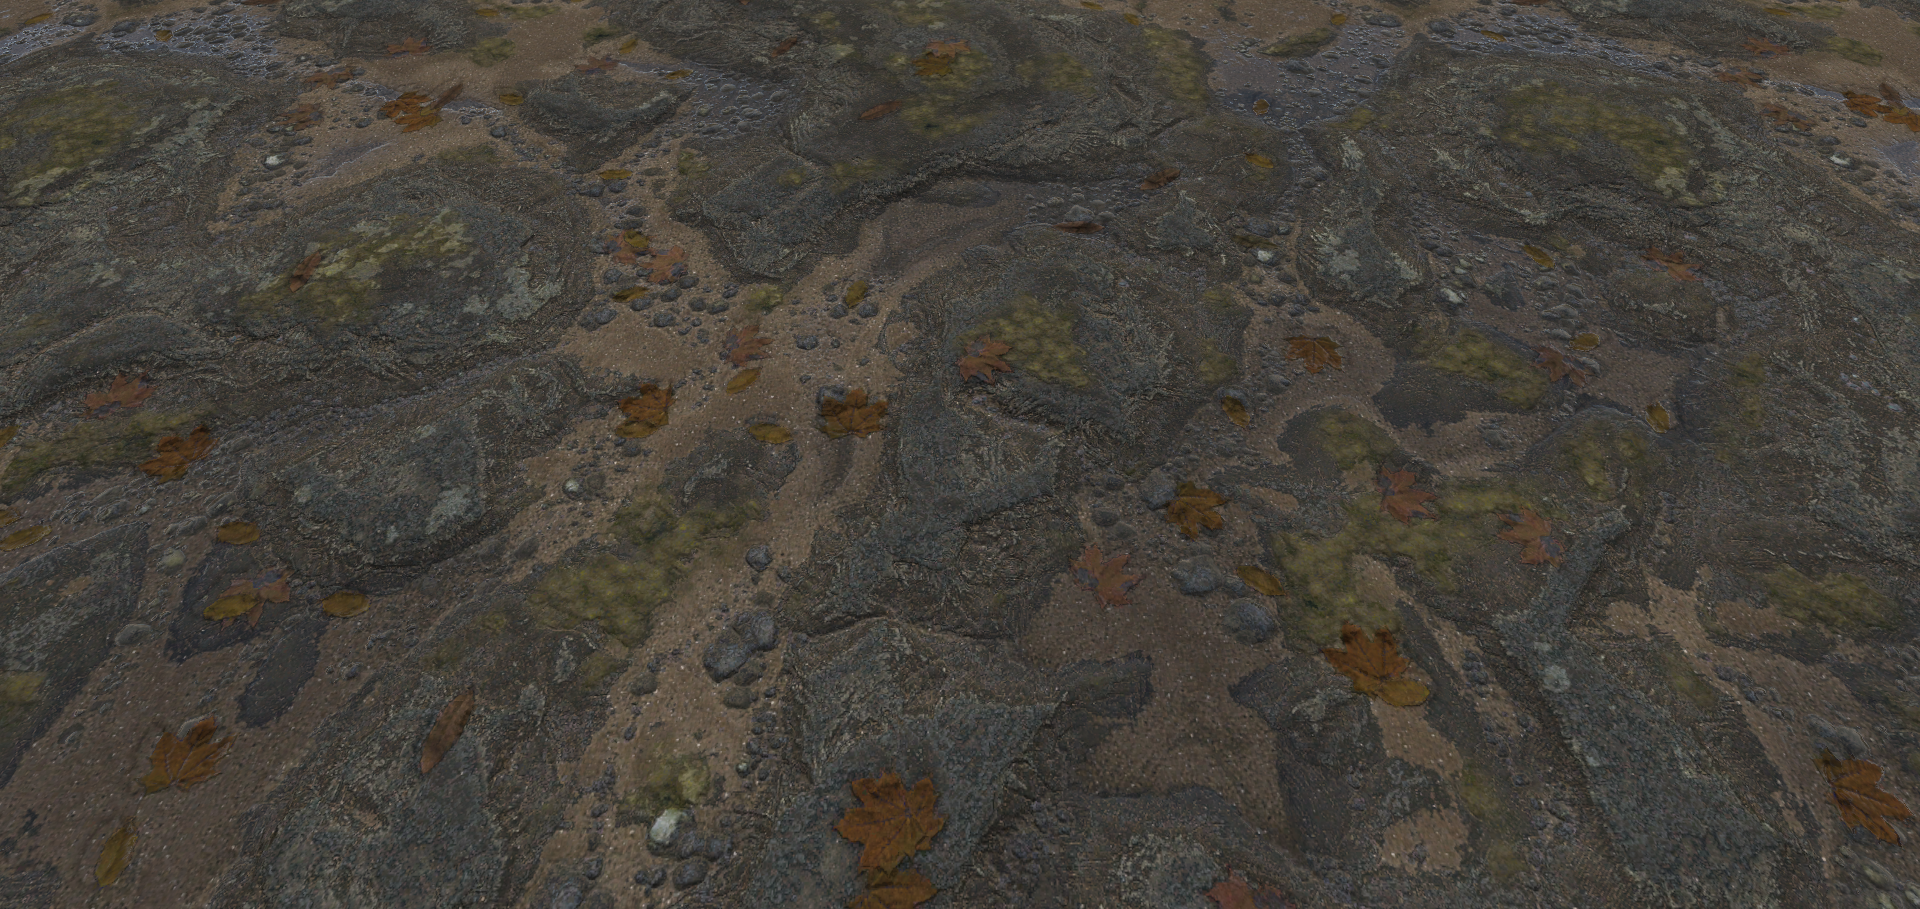
This should look almost identical to the standard shader at this point. The most obvious difference is that we’ve lost access to the Parallax Mapping, so everything looks slightly more flat. However the default implementation is a little buggy anyway – we can look at an improved replacement for that in another post.
Adding basic puddles
So, on to the puddles. The basic idea behind this effect is that as you bring a property up, the material will start to flood with water. To achieve this we’re going to use the heightblend() function we covered here. This needs a property added to the shader to work, and we should add a _WaterLevel property too.
|
1 2 |
_WaterLevel("Water Level", Range(0, 1)) = 0 _HeightmapBlending("Heightmap Blending", Float) = 0.05 |
These properties will now be exposed to the material inspector. We also need to add a float declaration for the _WaterLevel – we don’t need to do this for the heightmap blending factor as heightblend.cginc takes care of this.
Next, we need to update the surface method to actually display the water. As we’re not using any kind of parallax mapping effects, we don’t need to worry about depth too much at the moment.
Our water is therefore going to need to be a smooth surface, with normals facing straight up, reflective, non metalic, maybe a little darker. The heightblend function makes implementing this easy.
|
1 2 3 4 5 6 7 8 9 10 11 12 13 14 15 16 17 18 19 20 21 22 23 24 25 26 27 |
void surf(Input input, inout SurfaceOutputStandard output) { float2 uv = input.uv_MainTex; float height = tex2D(_ParallaxMap, uv).r; // Get the base material height early // Get the main PBR material float4 diffuse = tex2D(_MainTex, uv); float3 albedo = diffuse.rgb; float4 metallicGloss = tex2D(_MetallicGlossMap, uv); float3 normal = UnpackNormal(tex2D(_BumpMap, uv)); float metallic = metallicGloss.r; float smoothness = metallicGloss.a; float occlusion = tex2D(_OcclusionMap, uv).r; // Heightblend onto the water effect albedo = heightblend(albedo, height, albedo * 0.8, _WaterLevel); // Make the wet albedo slightly darker normal = heightblend(normal, height, float3(0, 0, 1), _WaterLevel); // Make the water normal face straight up metallic = heightblend(metallic, height, 0, _WaterLevel); // Make the water non-metallic smoothness = heightblend(smoothness, height, 0.9, _WaterLevel); // Make the water very smooth occlusion = heightblend(occlusion, height, 1, _WaterLevel); // Remove any occlusion from the water output.Albedo = albedo; output.Normal = normal; output.Metallic = metallic; output.Smoothness = smoothness; output.Occlusion = occlusion; } |
The main change is the heightblending section. We are using _WaterLevel as the height for the water side, and the material height map on the other side. By scanning down the third property on each one, you can see what the water effect looks like. It’s 80% of the brightness of the base albedo, the normal points straight up with a fixed vector, it’s completely non-metallic, 90% smooth and being a smooth surface contains no occlusion.
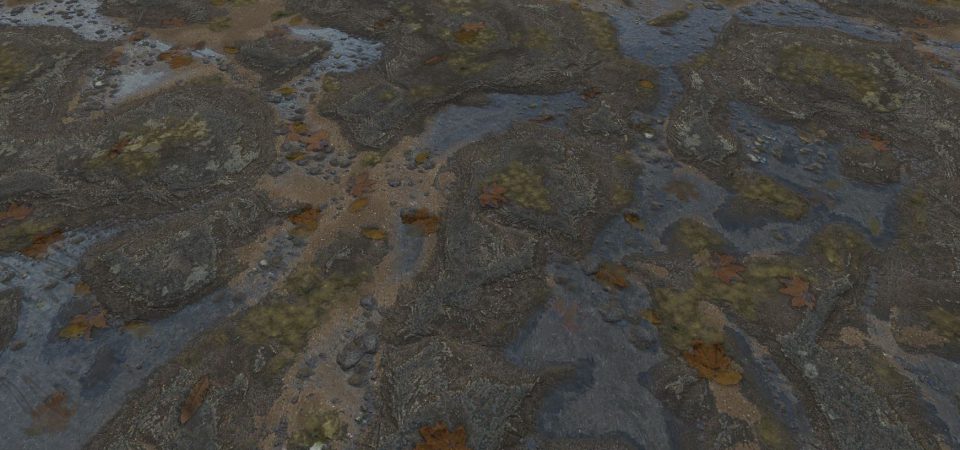
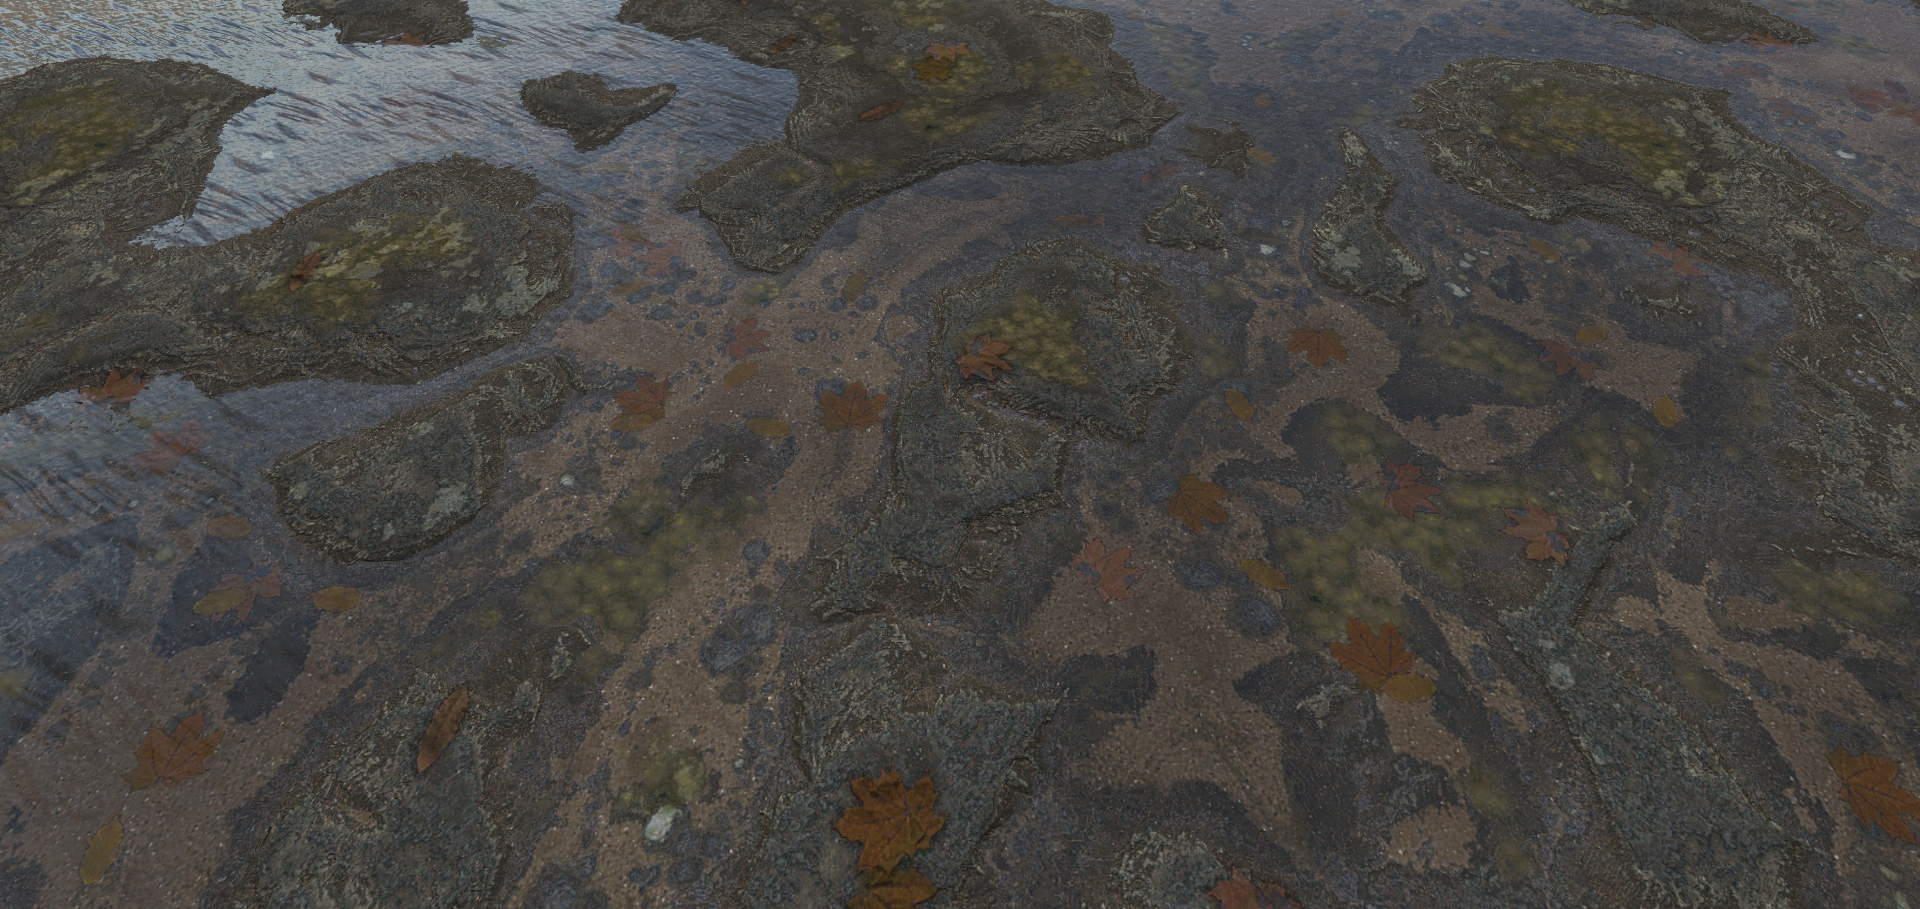
Now when we raise the _WaterLevel we can see the effect!
This looks pretty good, but is completely static, and doesn’t allow for much in the way of configuration.
Ripple Maps
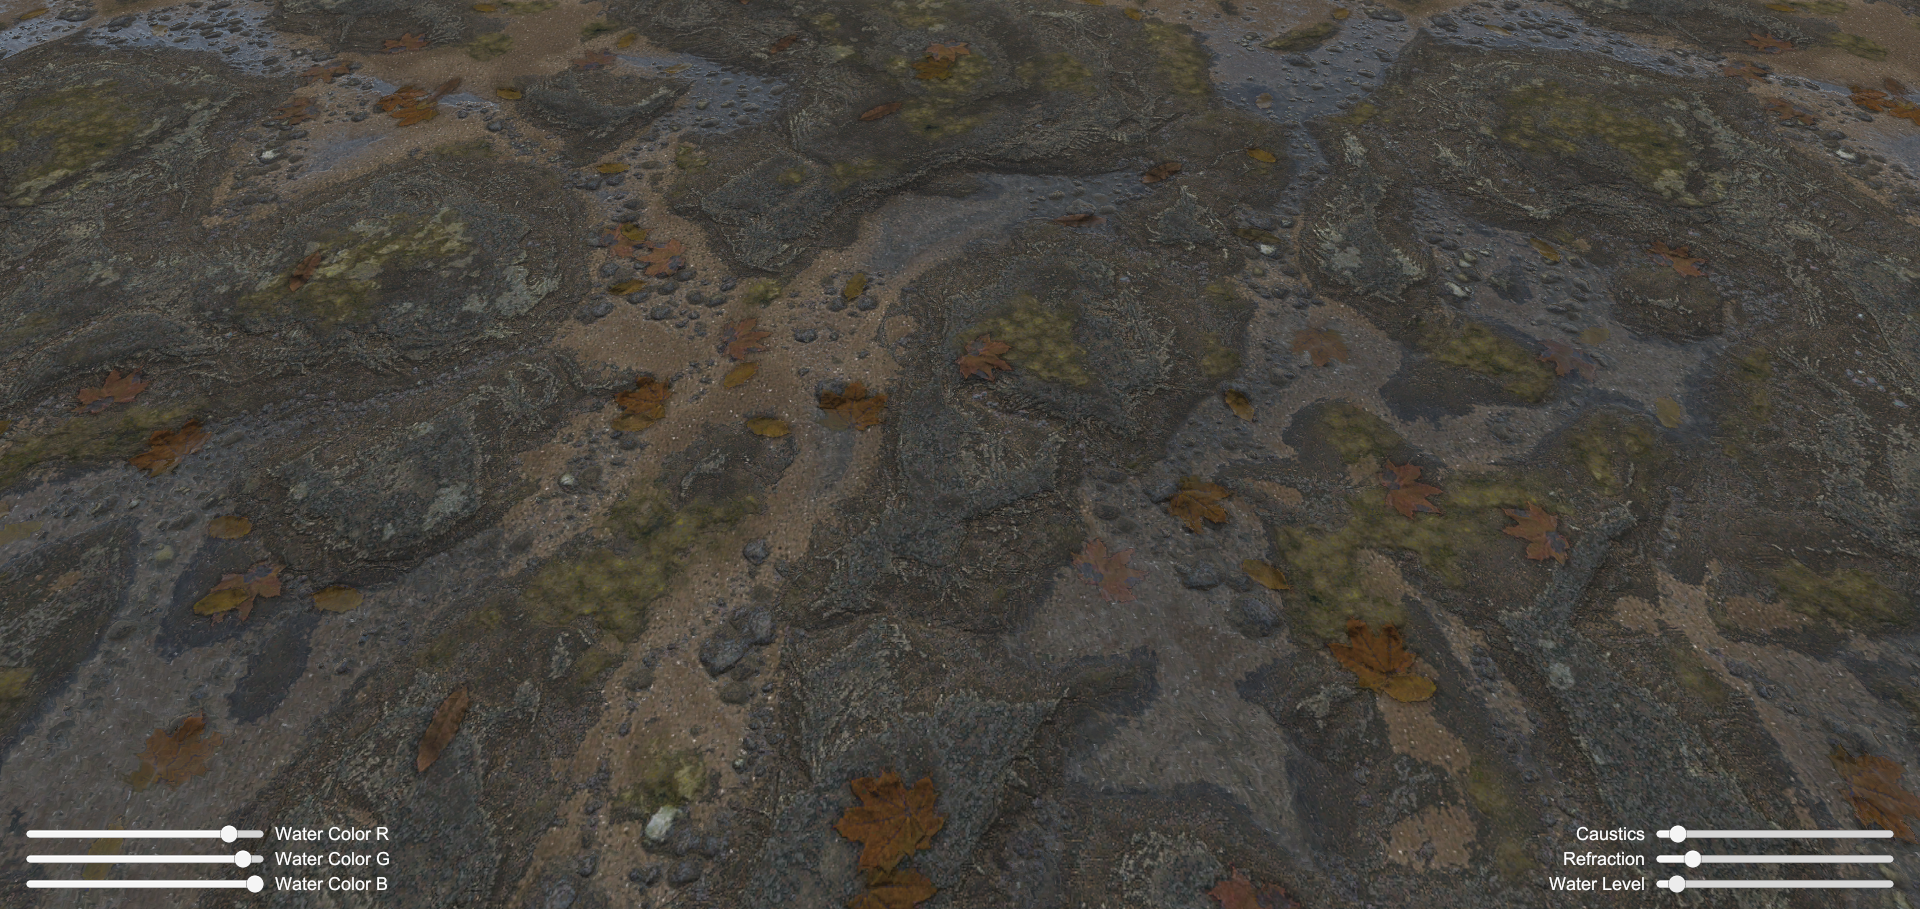
Currently the water normals all point completely straight up. That means it’s completely featureless and difficult to see, and when the light catches the water it looks like a perfect mirror.
This should be fairly easy to improve using normal maps. I decided to use a pair of maps for this and layer them together to break up any tiling you might otherwise get. If you don’t have any they are easy to source online, but I’ll try and generate some at a later date and update the download to include them.
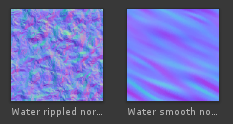
I specifically went for one very smooth one and one with lots of ripples to maximise variation. I’ve added _WaterBumpMap1 and _WaterBumpMap2 texture properties to the shader, and the interpolators required to access them.
We’re going to be using world space texture mapping for the next section, so I’ve added float3 worldPos to the Input struct. This is one of the magic values that Unity will fill in automatically, so this is all we need to do.
And now we can finally get into some more complicated maths to improve the effects!
First up, inside the surf method, we need to sample the two water normal maps.
|
1 2 3 4 5 |
float2 waterUV1 = (input.worldPos.xz * 5) + (_Time.x * 0.8); float3 waterNormal1 = UnpackNormal(tex2D(_WaterBumpMap1, waterUV1)); float2 waterUV2 = (input.worldPos.xz * 3) + float2(_Time.x * -0.6, _Time.x * 0.5); float3 waterNormal2 = UnpackNormal(tex2D(_WaterBumpMap2, waterUV2)); |
Both of these currently use world space mapping. Effectively we’re applying our own top down plane projection inside the shader instead of using pre-computed UVs. This will mean the effect stretches on slopes, but puddles on slopes are to be avoided anyway. We’ll come back to that at a later date.
Both are at different scales (the multipliers) and both have the magic surface shader property _Time added to them, causing them to scroll over time. The bottom one travels in a different direction to the top. The directions used are extremely simplified, as using sin/cos is relatively expensive. This shouldn’t matter too much, it just provides some basic motion.
This effect would be extremely simplified alone, so we need to make the ripple motion more convincing.
|
1 2 3 4 5 6 7 |
float waterNormal1Level = (sin(_Time.y * 0.6) + 1.0) / 2.0; waterNormal1.z = 3.0 + (waterNormal1Level * 5.0); waterNormal1 = normalize(waterNormal1); float waterNormal2Level = (cos(_Time.y * 0.8) + 1.0) / 2.0; waterNormal2.z = 3.0 + (waterNormal2Level * 7.0); waterNormal2 = normalize(waterNormal2); |
This should be much more effective. The y component of the normal is modified on a sin or cos wave, and then renormalized. This has cost a little performance, but is worth it for the wave effect as it provides a much more convincing effect, with the waves growing and shrinking on a nice smooth curve.
However this effect is still being applied equally across the entire map, with all the waves rising and sinking at the same time, which looks odd.
|
1 2 3 4 5 |
float2 waterUV3 = input.worldPos.xz; float waterLerp = UnpackNormal(tex2D(_WaterBumpMap1, waterUV3)).z * 36; waterLerp = (sin(waterLerp + _Time.y) + 1.0) / 2.0; waterLerp = 0.2 + (waterLerp * 0.6); float3 waterNormal = lerp(waterNormal1, waterNormal2, waterLerp); |
To combat this we take a final sample of one of the maps again, at a much larger scale. We then use the z component of the normal, add the time variable to it, and convert it into a sin curve. This has the effect of switching between 0 and 1 over larger areas over time. We then use that to control a lerp in between the two wave effects.
The effect is now fairly convincing and easy to control.
Refraction
As you might have noticed the previous effect only makes a significant difference where the light catches it. Adding simulated refraction for the water layer would make a much bigger difference. Luckily this is now extremely simple with the ripple data we’ve just calculated.
Firstly we need to expose an overall refraction level, which I’m doing with a property name _Refraction.
Next, we calculated a refracted UV by offseting it using the ripple horizontal normals. We then apply it to the main uv, using the heightblend() function to only apply it to the water surface.
|
1 2 |
float2 uvDistorted = float2(uv.x + (waterNormal.x * _Refraction * 0.2), uv.y + (waterNormal.y * _Refraction * 0.2)); uv = heightblend(uv, height, uvDistorted, _WaterLevel); |
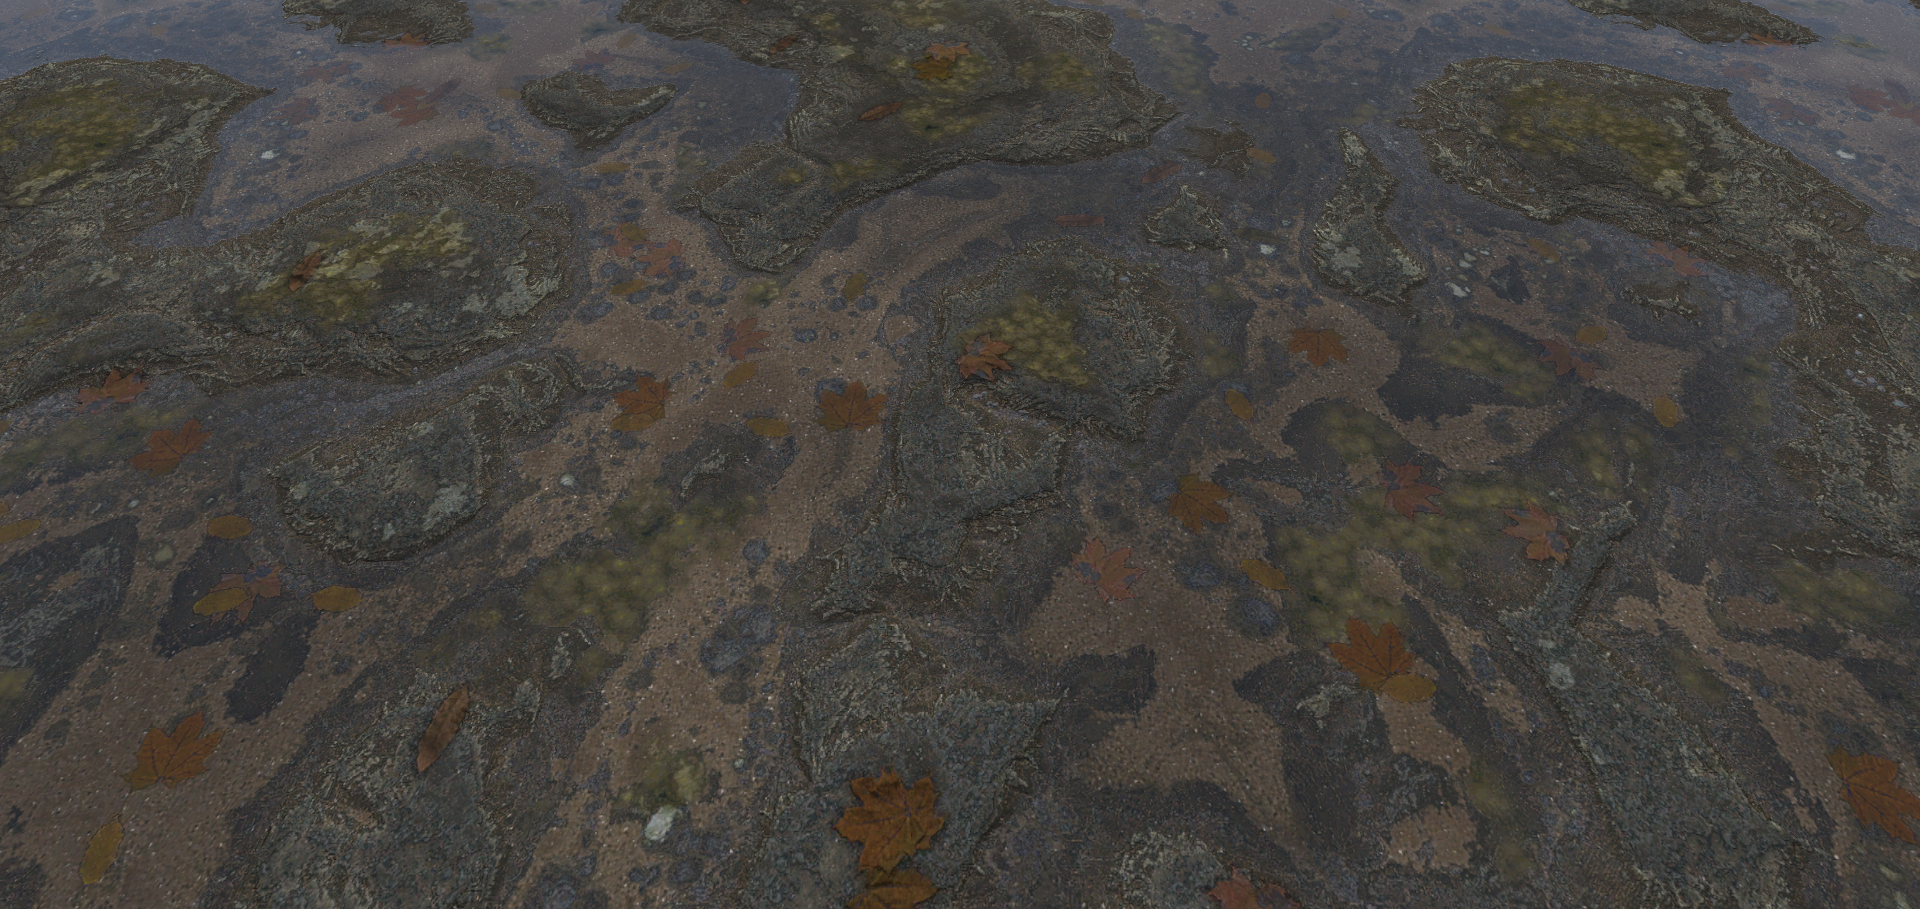
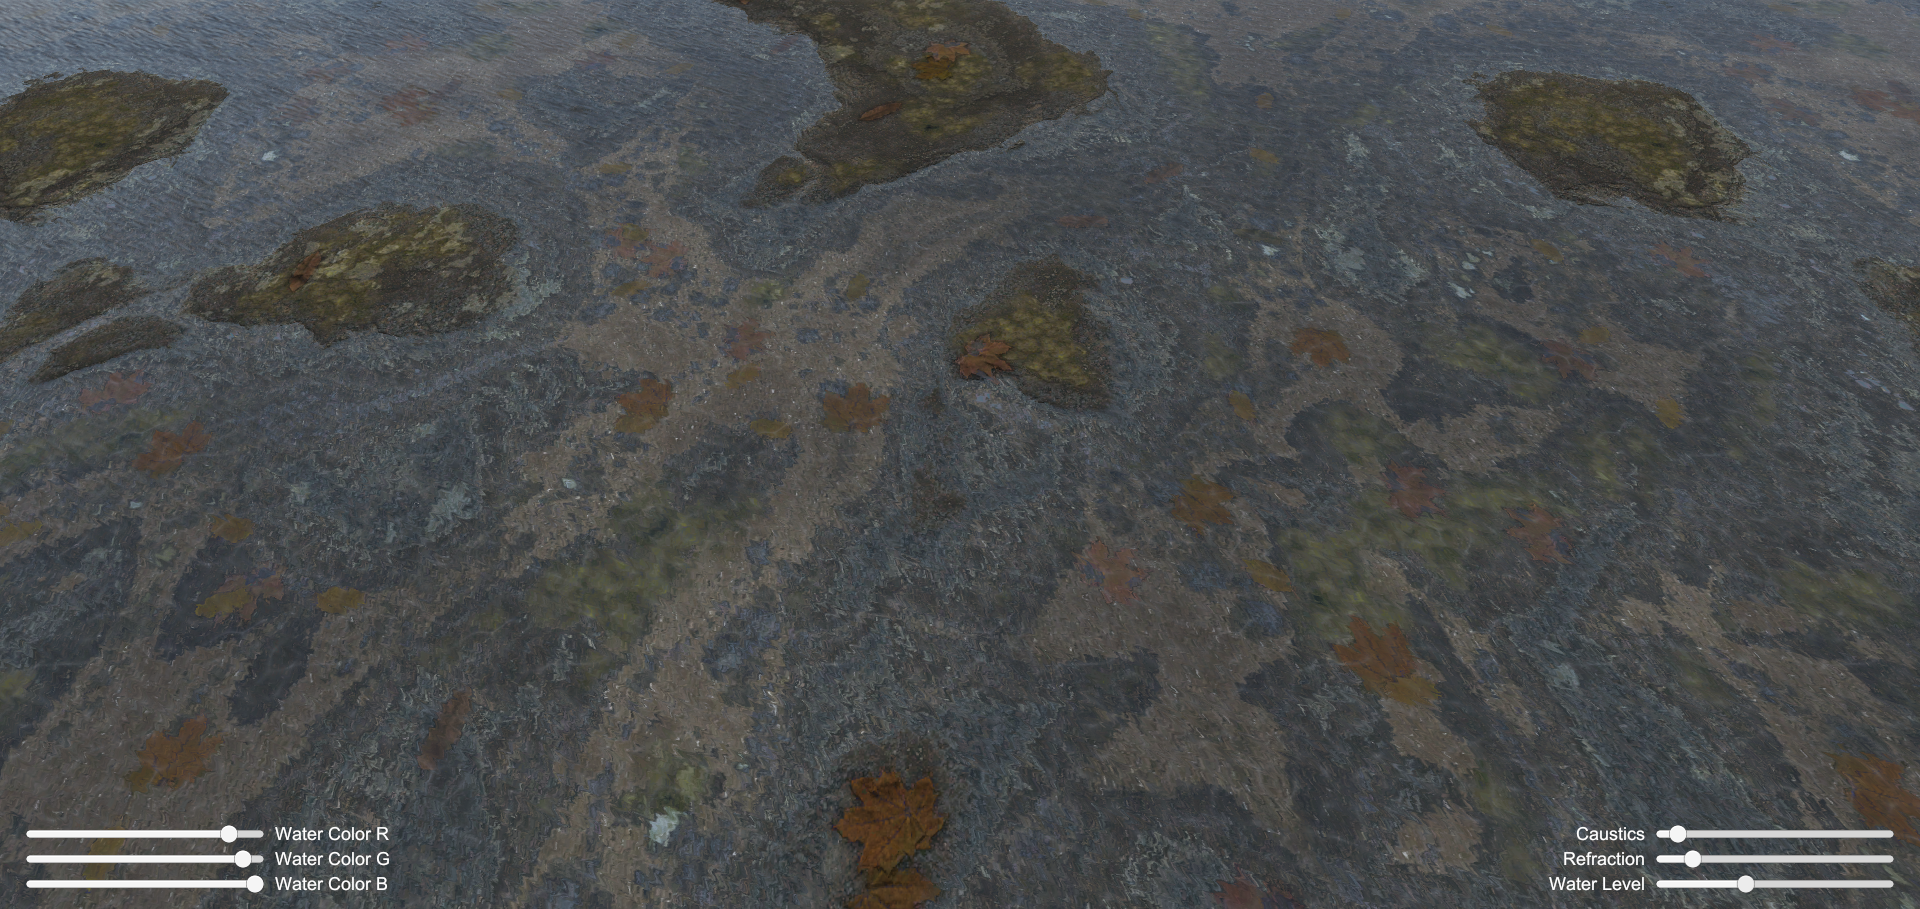
And we have refraction!
Note that the effect is automatically animated, as the offset is fed from the animated ripple normals.
Caustics
Caustics are the refracted light patterns you get underwater, caused by the surface ripples. A decent caustic effect can go a long way towards making a water effect. We are going to go for an animated caustic effect that will further be refracted by the water surface. This should help break up any last tiling, and finish the puddle effect off.
Many people use a texture atlas for these sort of shader effects, but when it’s a frame by frame animation like this it seems like a perfect opporunity to use a Texture3D. This, as the name suggests, is exactly like the Texture2D, but with a 3rd dimension. We can therefore layer multiple images into one and smoothly interpolate in between the frames in exactly the same way as the interpolation works across the surface.
For reasons best known Unity does not come with any tools to create or import Texture3D assets, so I have written a editor extension to do this. I’m using it to load a set of images and packs the R channel of each into a single channel using the Alpha8 texture format.
I didn’t want to burn a lot of time creating caustic textures, so I used an animated gif I found online and extracted the frames into seperate images with an online tool – the process was quick and easy.
As we’ve used a 3d texture implementing it into the shader is really easy.
|
1 2 3 |
// Caustic Properties _CausticMap("Caustic", 3D) = "grey" {} // Note: 3D, not 2D! _CausticLevel("Caustic Level", Range(0, 1)) = 0.1 |
|
1 2 3 |
// Caustic Interpolator sampler3D _CausticMap; // Note: 3D not 2D! float _CausticLevel; |
|
1 2 3 |
// Caustic Surface float3 causticUV = float3(input.worldPos.x, input.worldPos.z, _Time.x * 4.2); float caustic = tex3D(_CausticMap, causticUV).a; // Note: 3D not 2D! |
The beauty of using a Texture3D here is that we don’t need any complicated code to offset the UVs across the atlas, we can just sample it with the third dimension fed from the _Time property. Because the texture is encoded to Alpha8 we have to get the final value from the alpha channel.
All we have to do then is update the albedo height blend to add the caustic effect to the wet area only.
|
1 2 |
float3 wetAlbedo = (albedo * _WaterColor.rgb) + (caustic * _CausticLevel); albedo = heightblend(albedo, height, wetAlbedo, _WaterLevel); |
Note I’ve added a _WaterColor property as well which lets us easily create bright clean water or more muddy water.
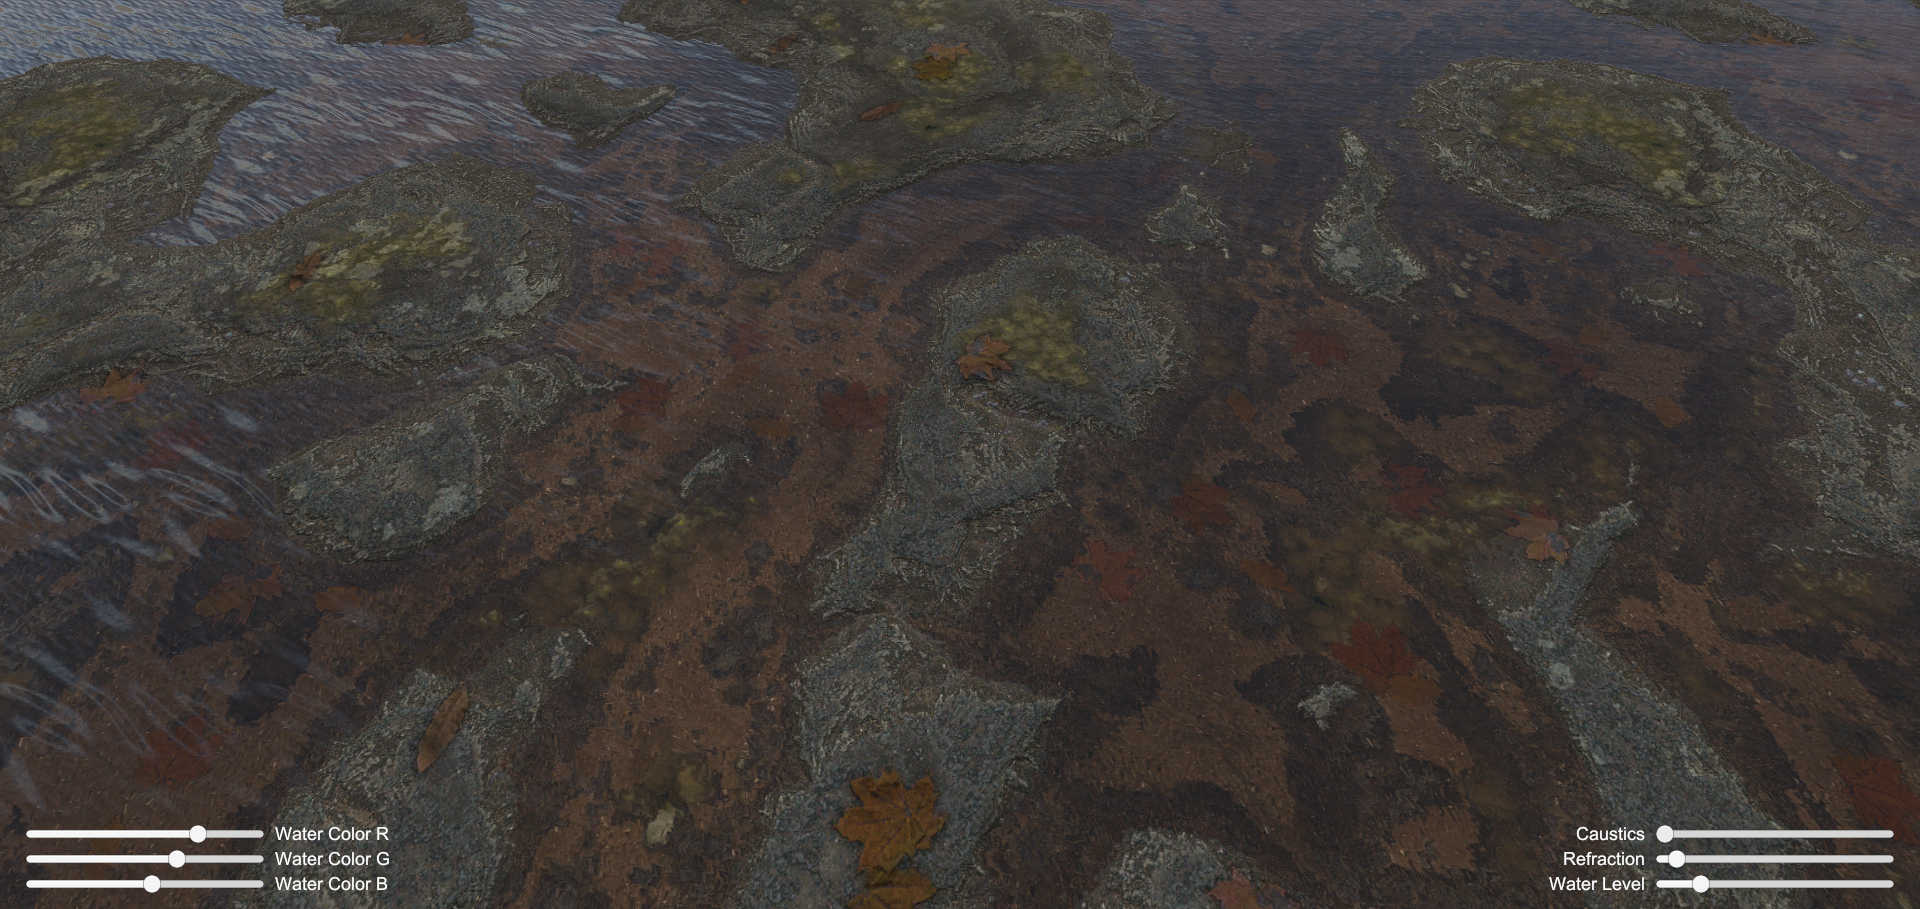
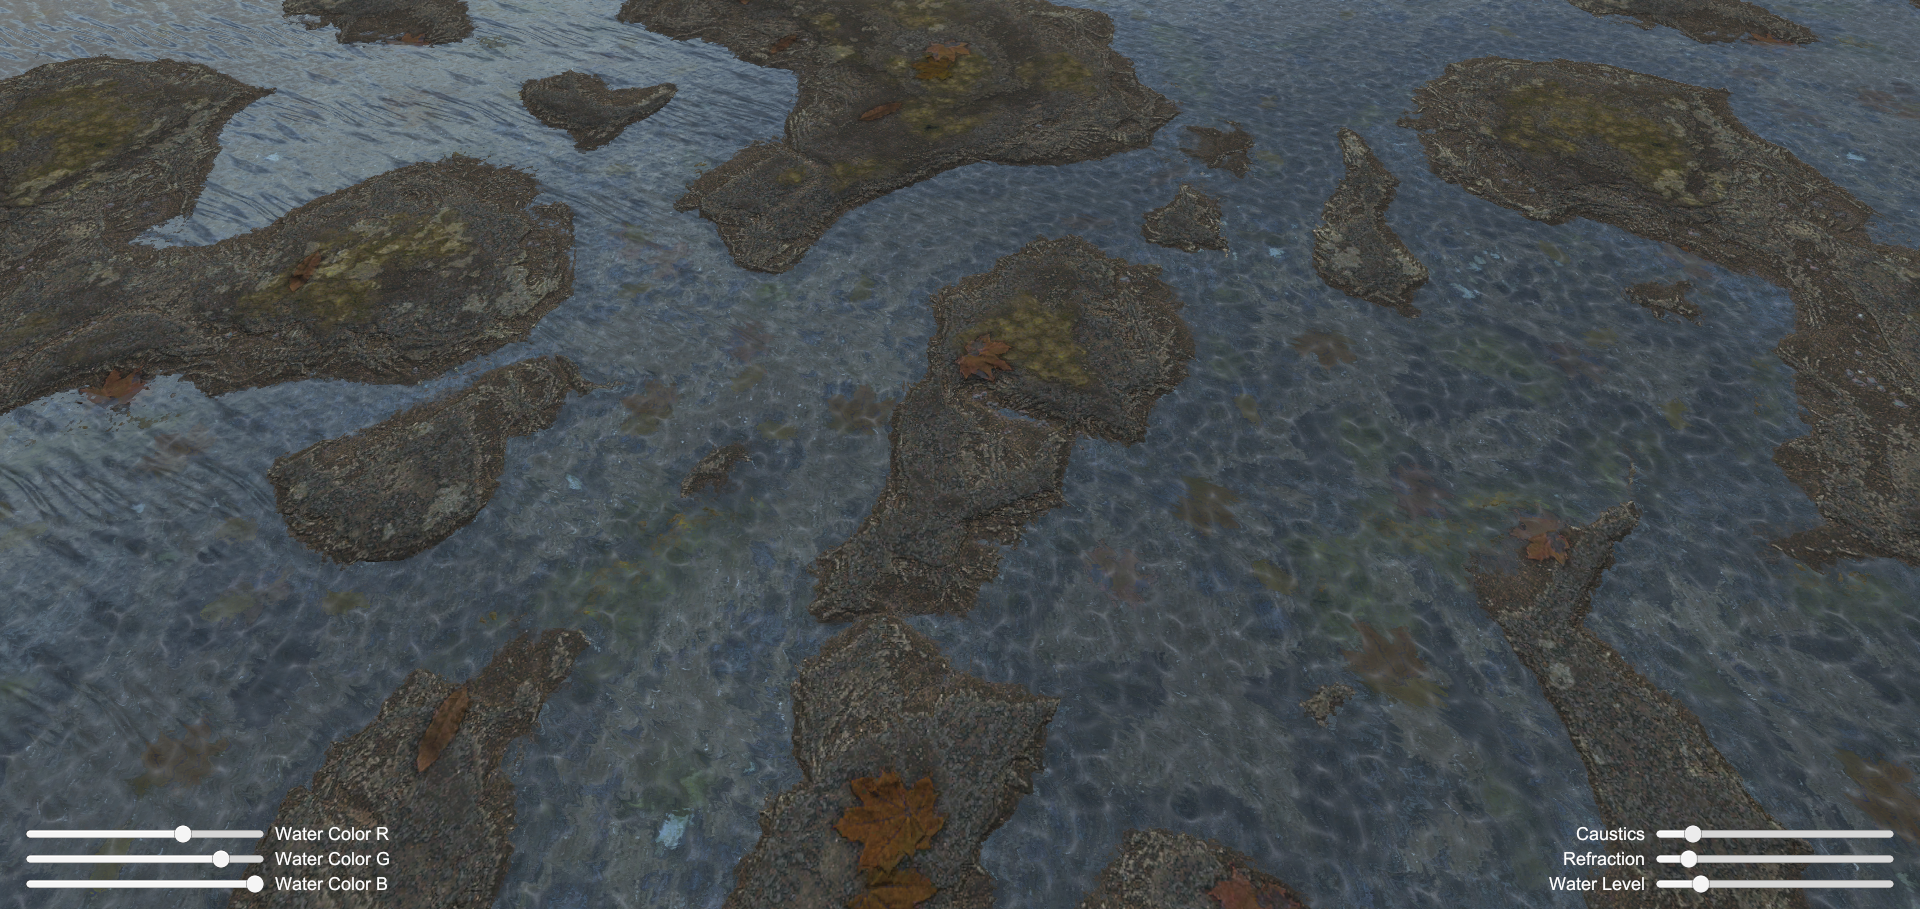
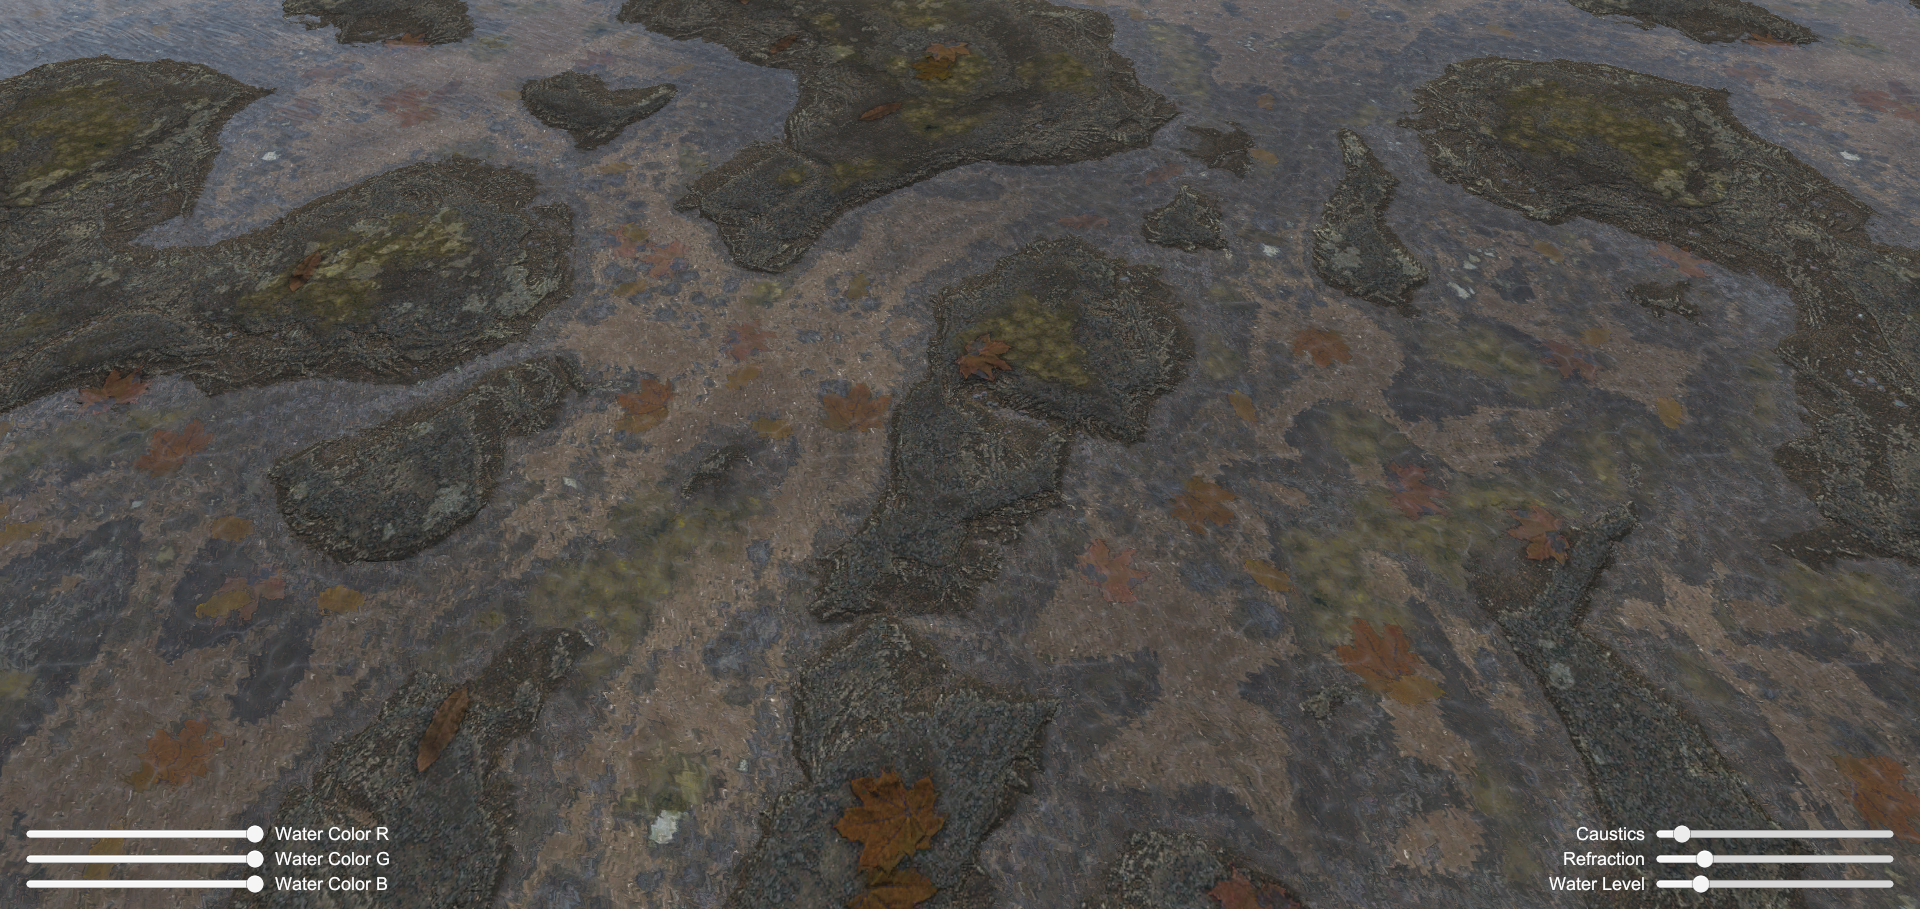
That’s it!
Download
The following download contains everything you need to implement the effect in your scenes.
Download “WeatherFX Puddles Shader” WeatherFX-Puddles.zip – Downloaded 1533 times – 2 MB
If you’re having any problems or want to know anything further just let me know in the comments.
Next time I’ll be providing a handy free editor extension I’ve written to assist with laying out scenes.
