This is a scene I created in Unity 5.5. I set myself a time limit of 24 hours for it.
Lighting
Generally when you’re creating a 3D scene in an engine like Unity there are 2 lighting elements which are always present. First, a ‘main’ directional light representing sunlight, and second, a set of options representing ‘ambient’ light. Both of these are approximations of things which are usually not worth simulating in more detail – on earth, all sunlight reaches a the local area travelling in approximately the same direction, and for most outside scenes there is no requirement for any pitch black areas, making ambient light a good simple solution for lessening the effect of normals and shadows.

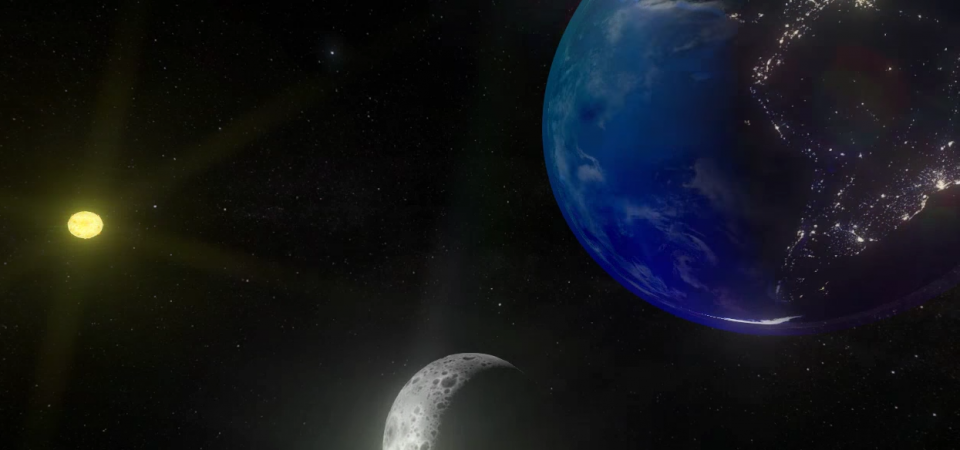
However, when it comes to space both of these start to cause problems. Once you start looking at things with a solar system scale (or even just looking at both the earth and the moon), it becomes clear that directional light is not going to work. The simplest fix for this is to instead use a point light, but then we would need to either use an unrealistic scale, making small scale objects like spacecraft difficult to work with, or set the point light to have an insane range which has it’s own problems.


At solar system scale a directional light no longer works – a point light would be required
Pitch black is an absolute requirement for the shaded side of planetary bodies, as any ambient light would cause the dark section of the body to be clearly visible at all times.
In order to get around both of these problems, I instead decided to use a custom lighting model. This works by taking the light source position and the position of the current fragment of the planet, and converting it to a light vector. From there it converts the surface normal and sampled normal map into a single world space normal. The dot product of these two vectors can then be used to determine how much light the surface should receive. By including the normal map shadows will fill craters and mountain ranges will catch the sun for longer – the effect is subtle, but gives a much better impression of depth.
This is essentially how basic diffuse lighting works anyway, but now we can apply this fake lighting to any large planetary bodies and still use the actual Unity lighting system for any close up objects such as space craft or lunar bases.

Even where space is not a big focus this can be used. A minor tweak allows the lighting vector to be generated inside the shader based on a “moon phase” input value, making it extremely useful for other earth based scenes.
Inhabited Planets
I wanted to add visible lights at night on earth. Thankfully the custom lighting model makes this easy – I simply use the inverse light / daytime value, and use that to control an emission map containing the lights.
Models
Unity provides a handful of built in primitives, but the sphere is not great for representing planets. The way it is stitched leads it to stretch fairly obviously on the main body of the planet, and the UV mapping does not fit well with the normal way of projecting maps for spheres. As I was using imagery from NASA which is projected in the standard way, something needed to be done.
I wrote a helper which could be used to generate a sphere mesh with given settings. This was based around the blender geosphere, which is essentially rows and columns. This squashes the poles, but the textures in question already had pre-stretched poles, so the final result should fit together well. This also made it easy to create a LOD group for the planets, which given the scales involved is well worth doing. If I was making a game I would go further and billboard them once they got far enough away.
