Many of the shaders I find myself writing require some sort of blending between textures. The most common example of this is for terrain shaders, or shaders for terrain type objects. These are usually controller by a splat map, where each color channel dictates the amount of a given texture to use. Another reasonably common example is a model where this data is fed in through the vertex colors instead of a texture map. A rarer example is an effect where the blending is controlled by world position, or even procedural noise.
Everything here is written using C# or HLSL/Cg in Unity, but the maths and principal are valid for any DirectX or OpenGL engine.
In this post we’ll be looking at how to implement texture blending, starting with a basic linear blend and ending up with a fancy height-blended approach. There’s a cginc to download at the end so you can quickly and easily implement these effects into your own shaders.
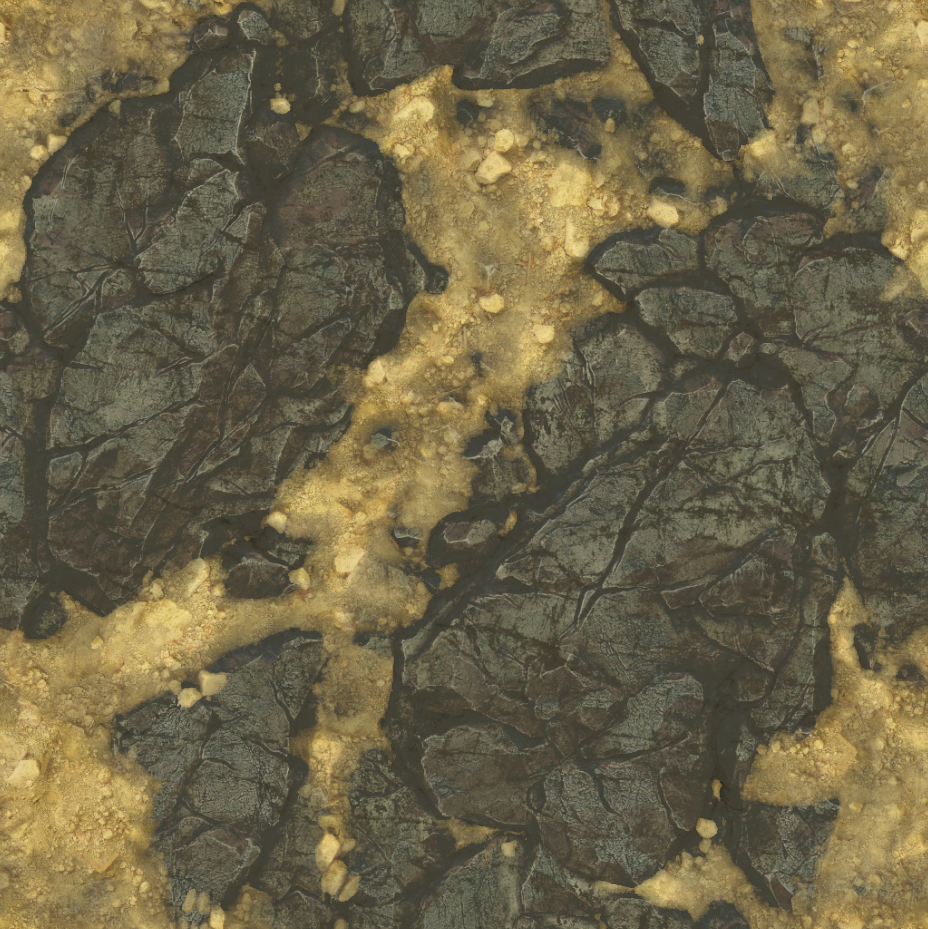
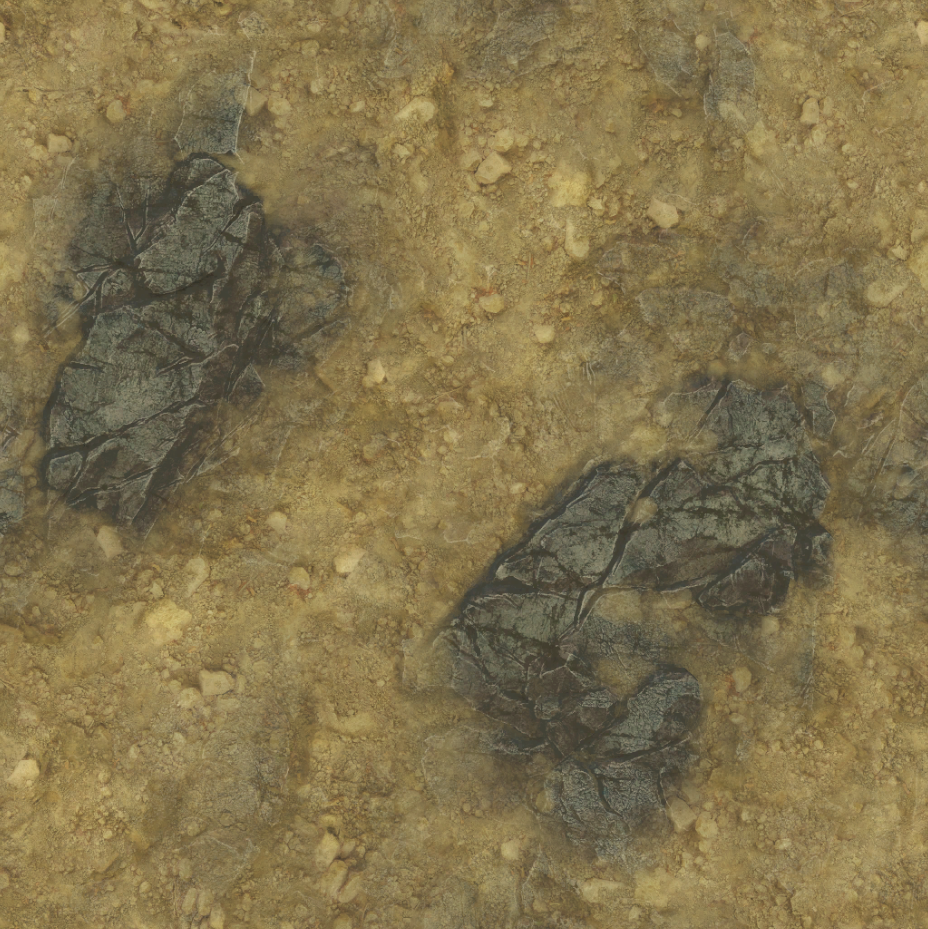
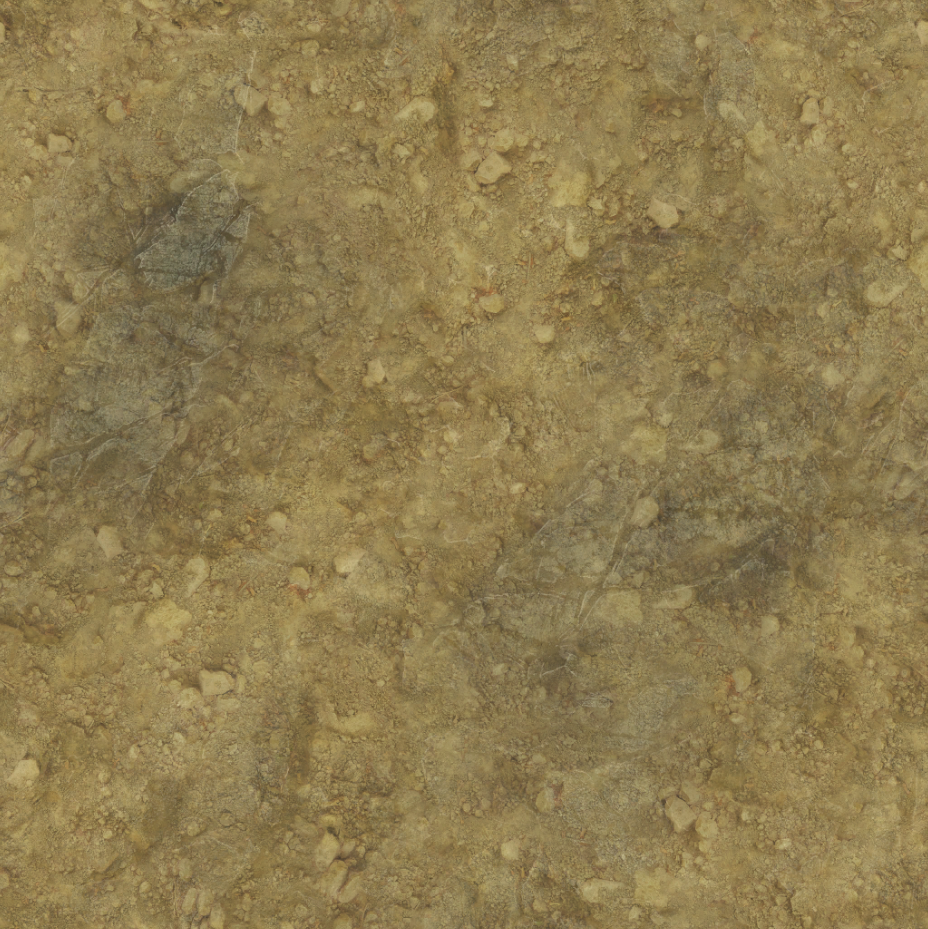
I’ll use the following two textures for this example, for a couple of reasons. The most obvious reason is that large difference in the brightness of the two images will make the interpolation very obvious. Secondly the sand is low and flat, and the rocks are tall and pointy, which should ensure a clear blend when the height factor comes into play.
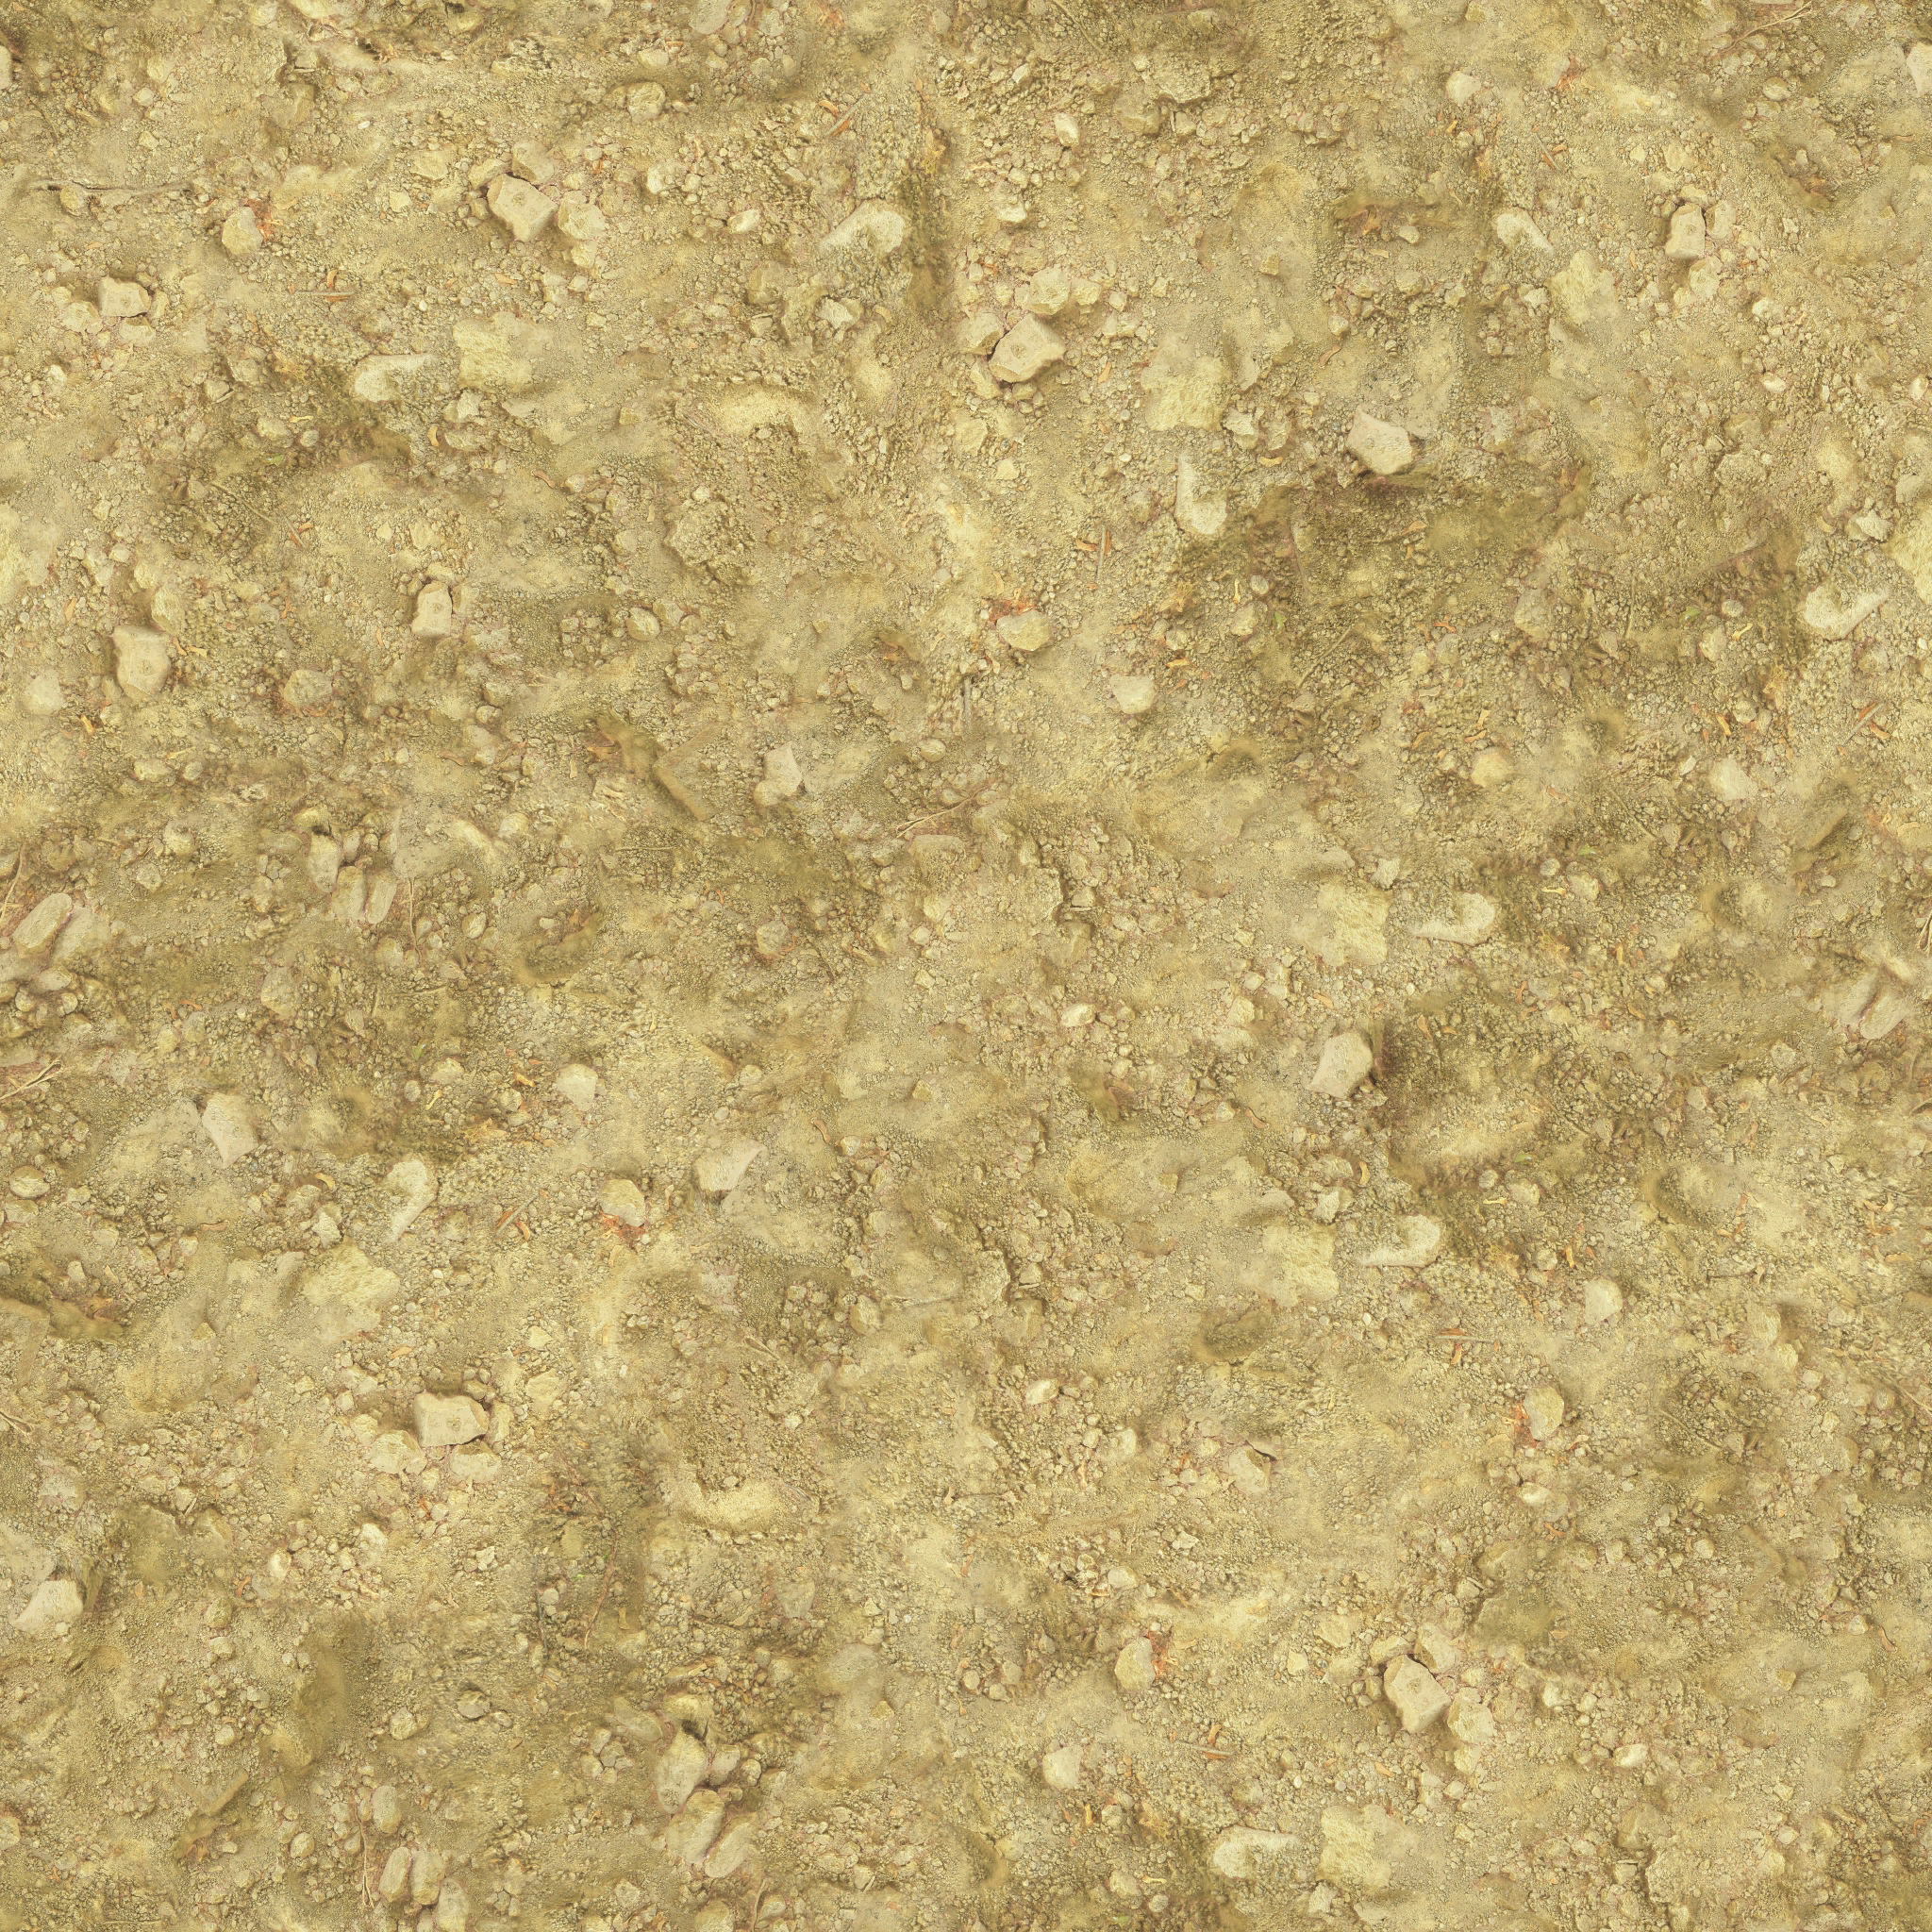

Materials used were all acquired from Substance Source. I signed up for the Indie Substance Live pay-to-own package about a year ago and never looked back. I’ll probably review all the individual products at some point, but in short – it’s brilliant.
For these examples we’ll simply use a default plane with the UV X coordinate used to control the blending. The final result should transition from sand on the left to rock on the right.
Basic Lerp
The simplest way to achieve this is using the lerp function. This interpolates from a left value to a right value, based on a control value. The maths involved is very simple:
|
1 2 3 4 5 |
float lerp(float v1, float v2, float t) { t = Mathf.Clamp01(t); // Most lerp implementations clamp t return v1 + ((v2 - v1) * t); } |
Both HLSL and GLSL have native lerp implementations. We can use this function to create a basic Unity Surface Shader to lerp between the two textures.
|
1 2 3 4 5 6 7 8 9 10 |
void surf (Input IN, inout SurfaceOutput o) { float2 uv = IN.uv_Texture1; float3 v1 = tex2D(_Texture1, uv).rgb; float3 v2 = tex2D(_Texture2, uv).rgb; float t = uv.x; o.Albedo = lerp(v1, v2, t); } |
This provides a simple linear interpolation:
This basic lerp blend is the method used by the Unity default terrain shader:
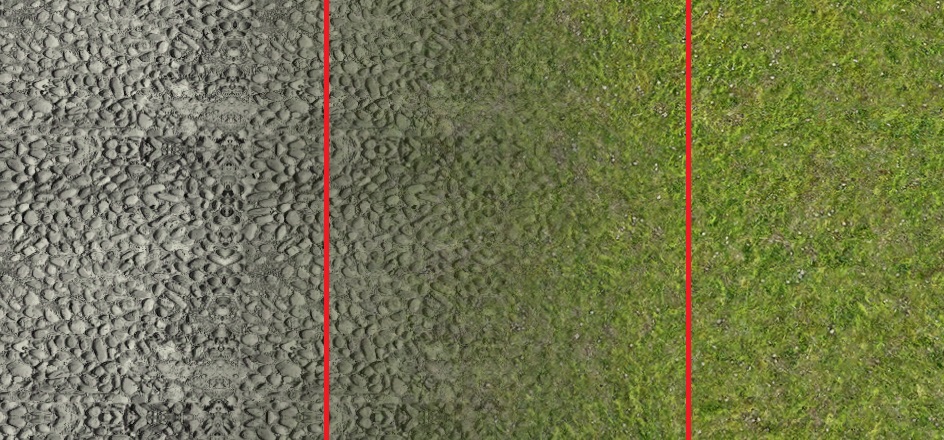
Image courtesy of Unity Answers user bekilo: “How do you turn off terrain blending?”
This works, but is at best unrealistic and at worst downright ugly, especially on large terrain objects.
Height-blending
To improve the effect we can use additional height data to control exactly where the blending should occur. This way, high areas from one texture poke through low areas from another sooner, which is much more realistic. The first thing we need is a greyscale heightmap to correspond to each of the two textures:
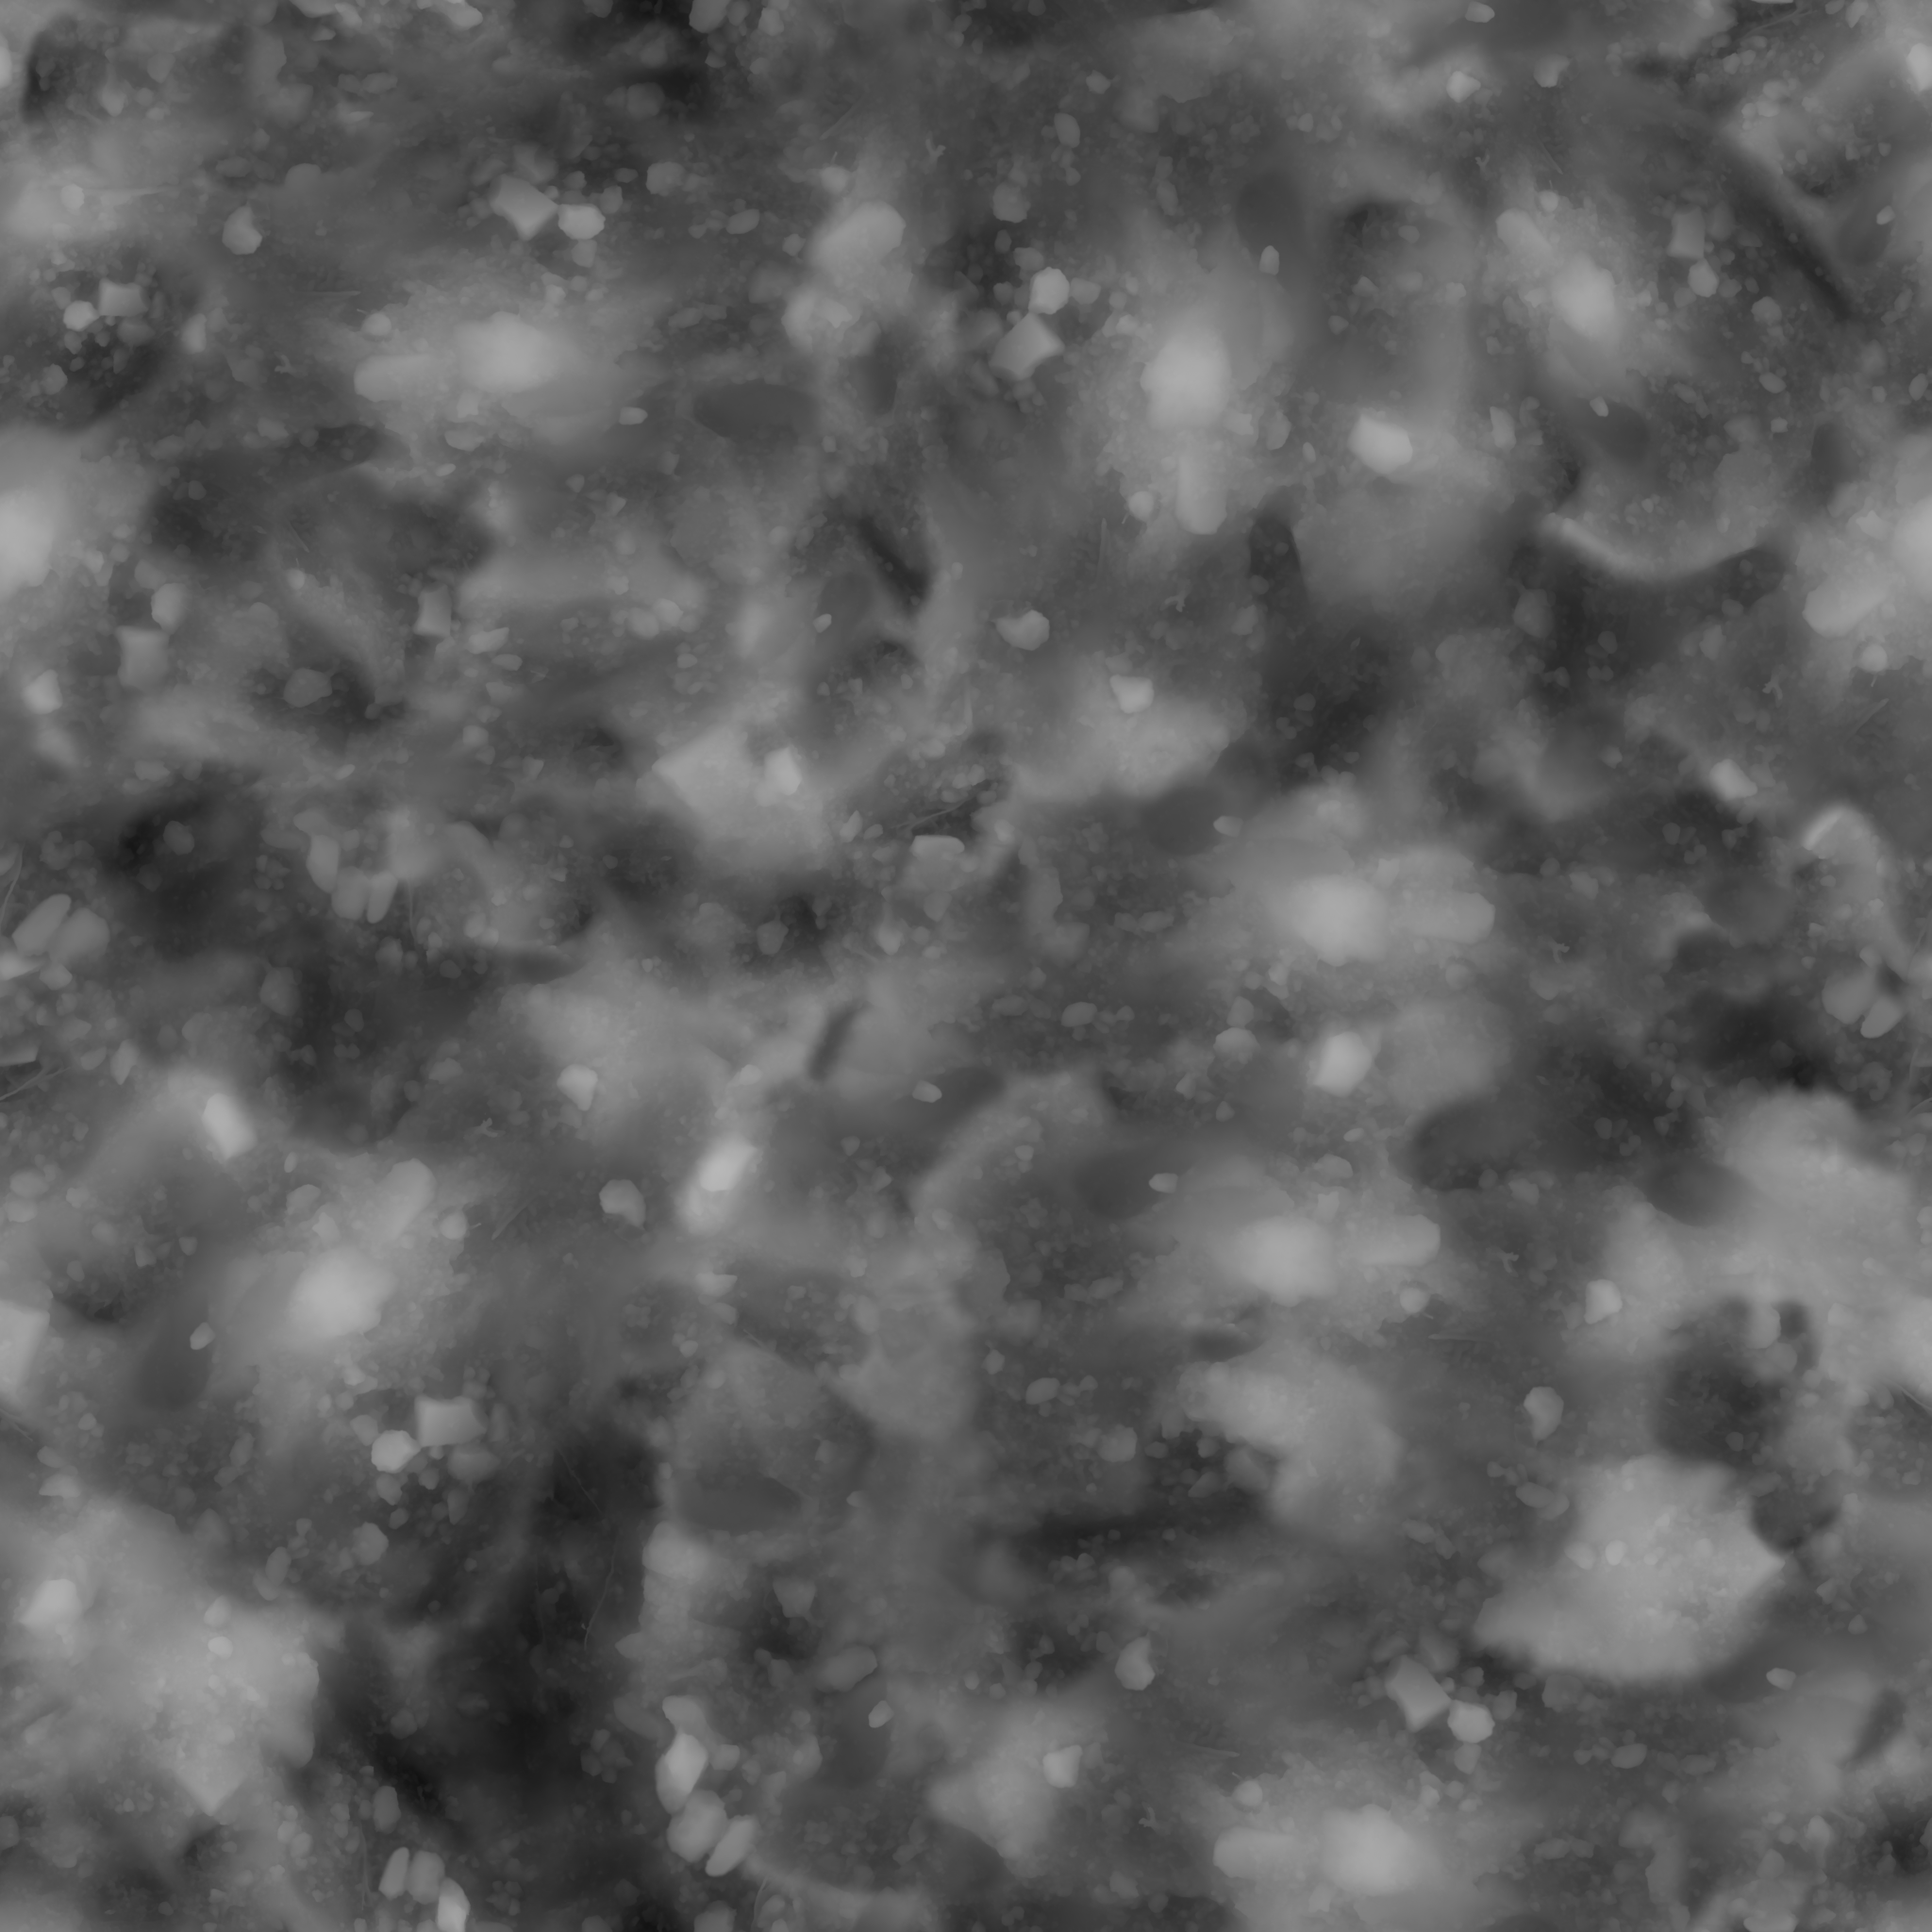
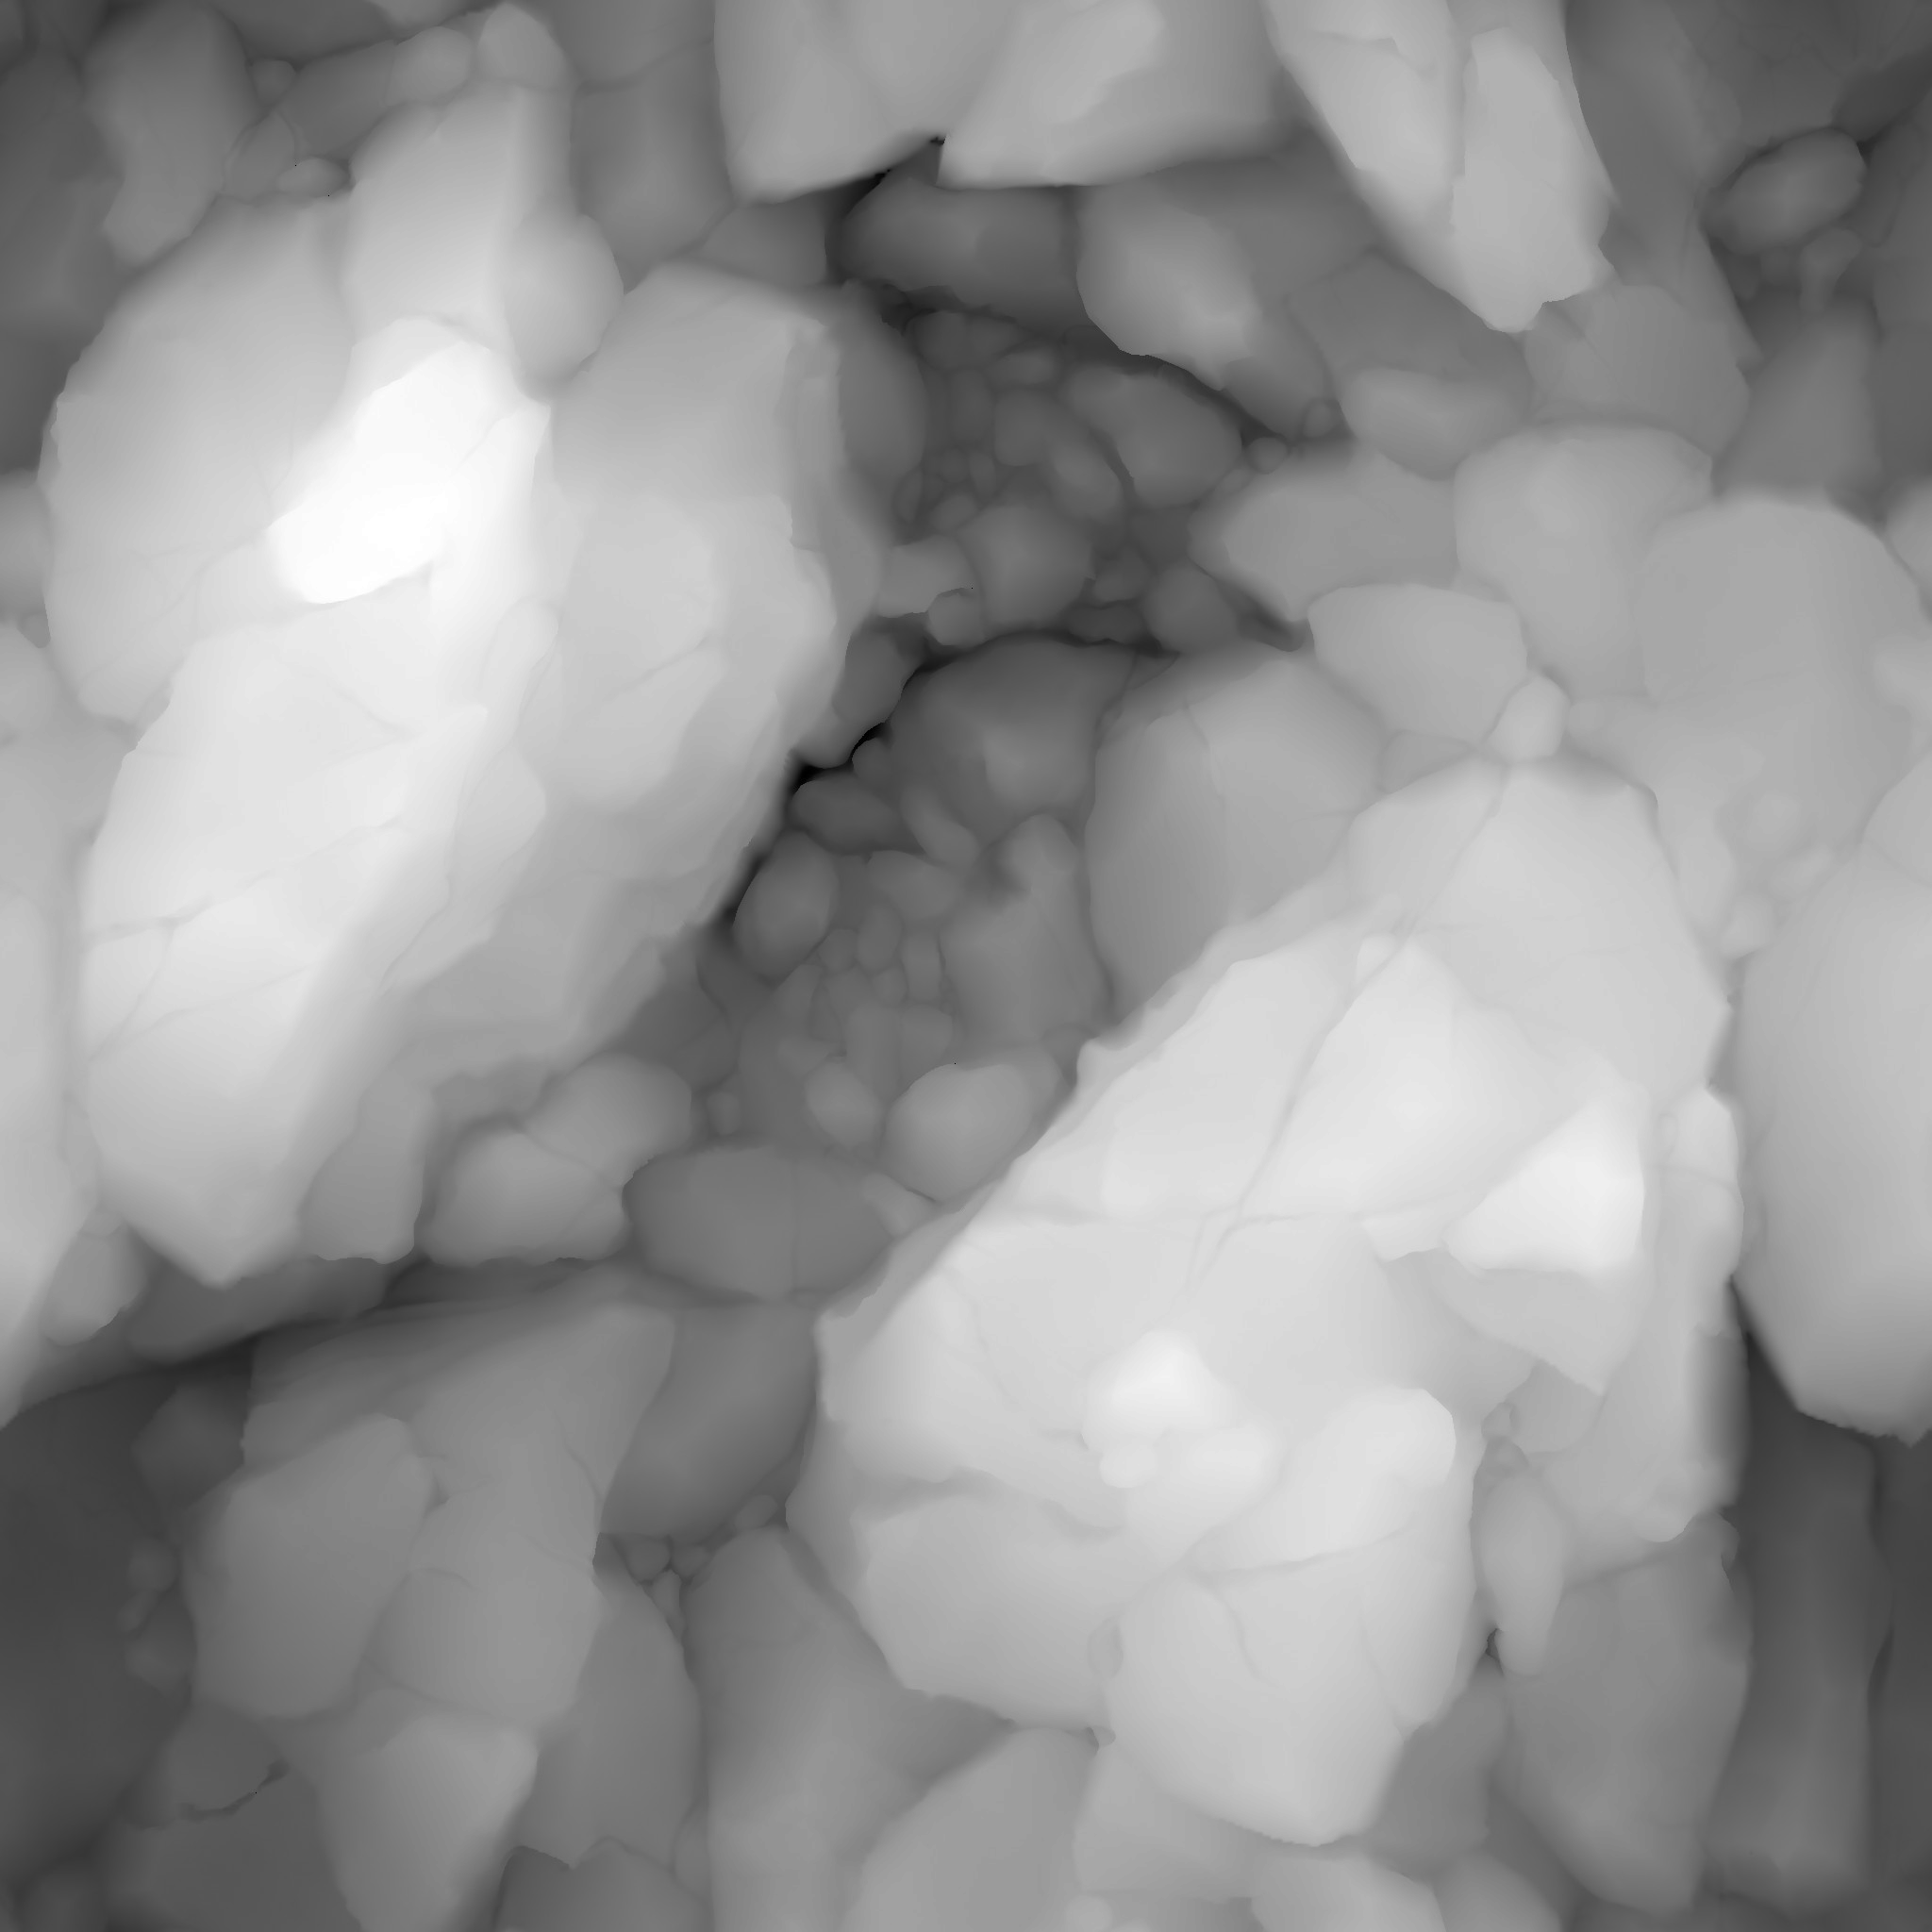
Lighter areas are higher, so as you can see the rock has two large tall areas which jut out, whereas the sand is low and ruffled.
Once we have these maps imported into the shader we can start to use them to further control the blend. The maths of the heightblending function are also simple, but it is a little trickier to follow:
|
1 2 3 4 5 6 7 |
float heightblend(float input1, float height1, float input2, float height2) { float height_start = max(height1, height2) - _HeightblendFactor; float level1 = max(height1 - height_start, 0); float level2 = max(height2 - height_start, 0); return ((input1 * level1) + (input2 * level2)) / (level1 + level2); } |
The first line calculates a height starting point. If either of the heightmaps is above this level, that texture will be present in the final mix. _HeightblendFactor is a control value which adjusts how sharp the edges of the blend will be. A smaller blending factor will result in sharper edges.
Note: If the heightmap factor is set to 0, both levels will become 0, meaning the final return will always be 0. To get very sharp blending, you must instead use a very low factor.
Next, we calculate the level of each side. If the height is lower than the height starting point, this level will be 0. Otherwise, the resulting number signifies how much higher than the start point it is. The highest value either of the levels can contain is _HeightblendFactor.
Finally these are combined back as a ‘percentage’ mix. Each side is added together, multiplied by the previous level, and then divided by the level total to ensure the total sum always equals 1.
Using this function from a shader is simple:
|
1 2 3 4 5 6 7 8 9 10 11 12 13 14 15 16 17 18 19 20 21 22 23 |
Properties { _Texture1("Texture 1", 2D) = "white" {} _Height1("Heightmap 1", 2D) = "white" {} _Texture2("Texture 2", 2D) = "white" {} _Height2("Heightmap 2", 2D) = "white" {} _HeightblendFactor("Heightmap Blending Factor", Float) = 0.05 } // ..... void surf(Input IN, inout SurfaceOutput o) { float2 uv = IN.uv_Texture1; float3 v1 = tex2D(_Texture1, uv).rgb; float h1 = tex2D(_Height1, uv).r; float3 v2 = tex2D(_Texture2, uv).rgb; float h2 = tex2D(_Height2, uv).r; o.Albedo = heightblend (v1, h1, v2, h2); } |
The only major difference is that we’ve added the two heightmaps, and switched from using the lerp function over to the heightblend function detailed above.

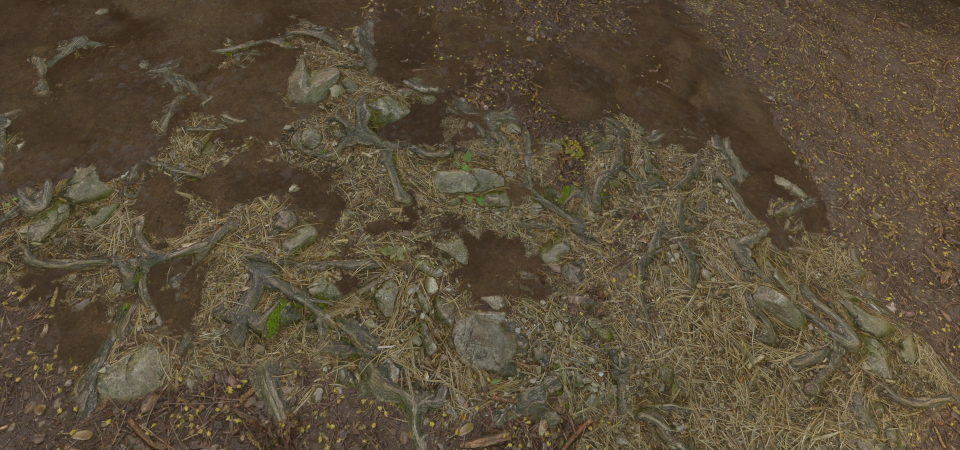
Immediately this looks far better. The sand’s heightmap dictates it has an overall low level hence it fills the low gaps in between the rocks, leaving the high points jutting out.
The following images demonstrate the effect the blending factor has. These run from a very low factor of 0.01 on the left to the maximum value of 1.0 on the right.

Heightlerp
While this effect is much better than the basic lerp, this effect is being applied equally across the surface – we are no longer blending from left to right.
To get back to the original goal we need to extend the technique to allow us to lerp between two materials, while still using the height-blending approach.
|
1 2 3 4 5 |
float heightlerp(float input1, float height1, float input2, float height2, float t) { t = clamp(t, 0, 1); return heightblend(input1, height1 * (1 - t), input2, height2 * t); } |
This extra method works in exactly the same way, but takes in the t parameter in the same way as lerp. First, t is clamped between 0 and 1 to avoid any range issues.
It then simply multiples that into the height, acting as a ratio control. Inverse t is used for the left hand side, so that when t is 0, the left hand side is at full power.
The shader is exactly the same as before, except now we use the heightlerp function and feed in the t parameter:
|
1 2 |
float t = uv.x; o.Albedo = heightlerp(v1, h1, v2, h2, t); |

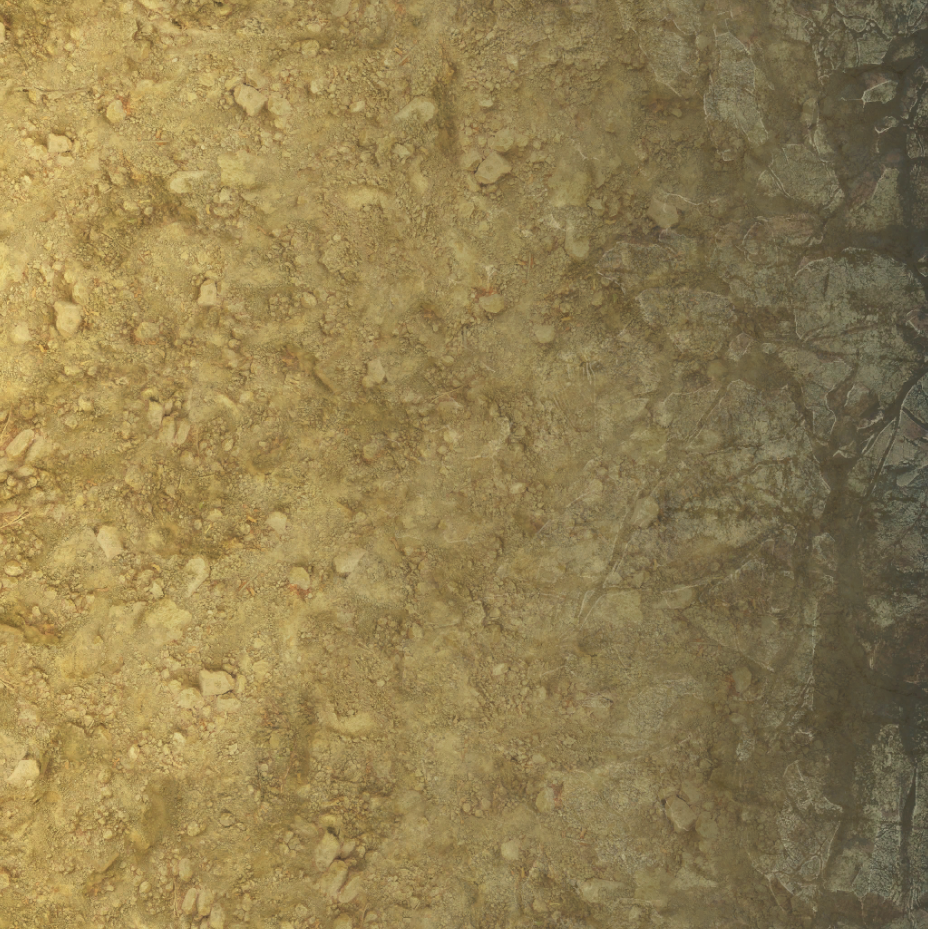
Much better! That is in essence the complete effect.
You can combine multiple sets of lerp together to blend multiple textures as required. If you want to add further maps such as normals, or PBR data that is also done using the same heightlerp function.
It can also be used in other creative ways, such as a snow shader – by factoring the y value into the height on one side, and reducing the other height by snow depth, a much more realistic snow cover effect can be achieved. I will likely cover this in a future post.
Example Scene
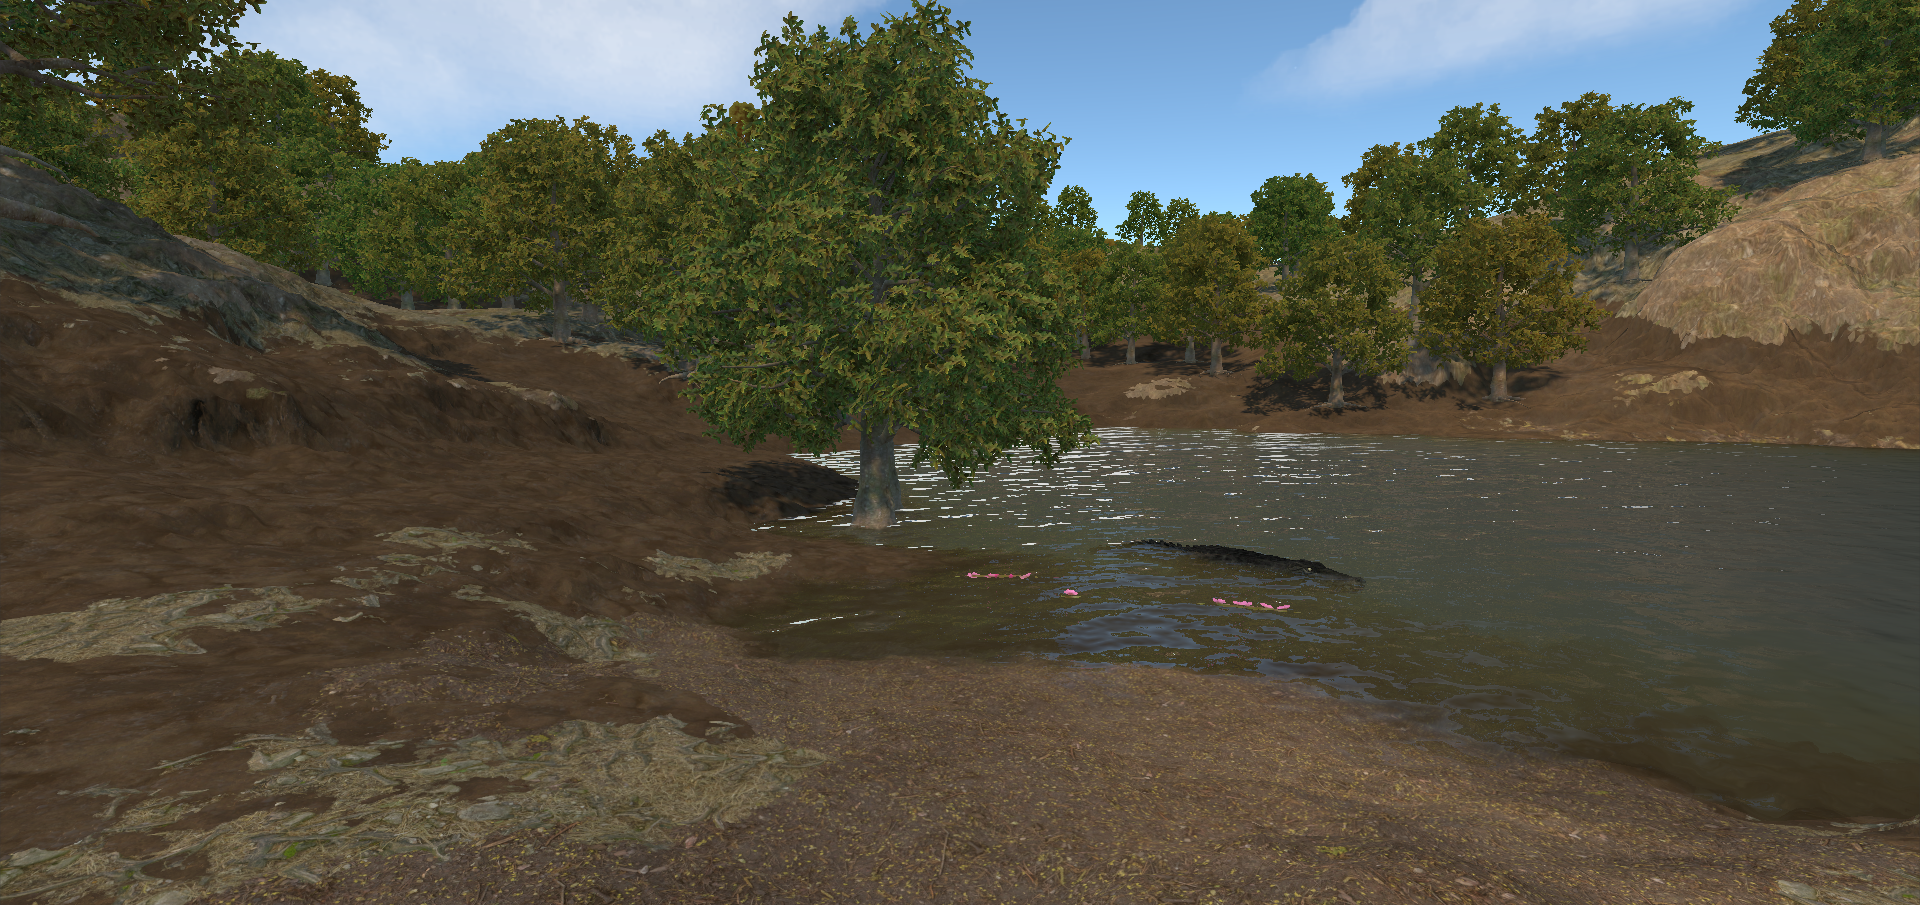
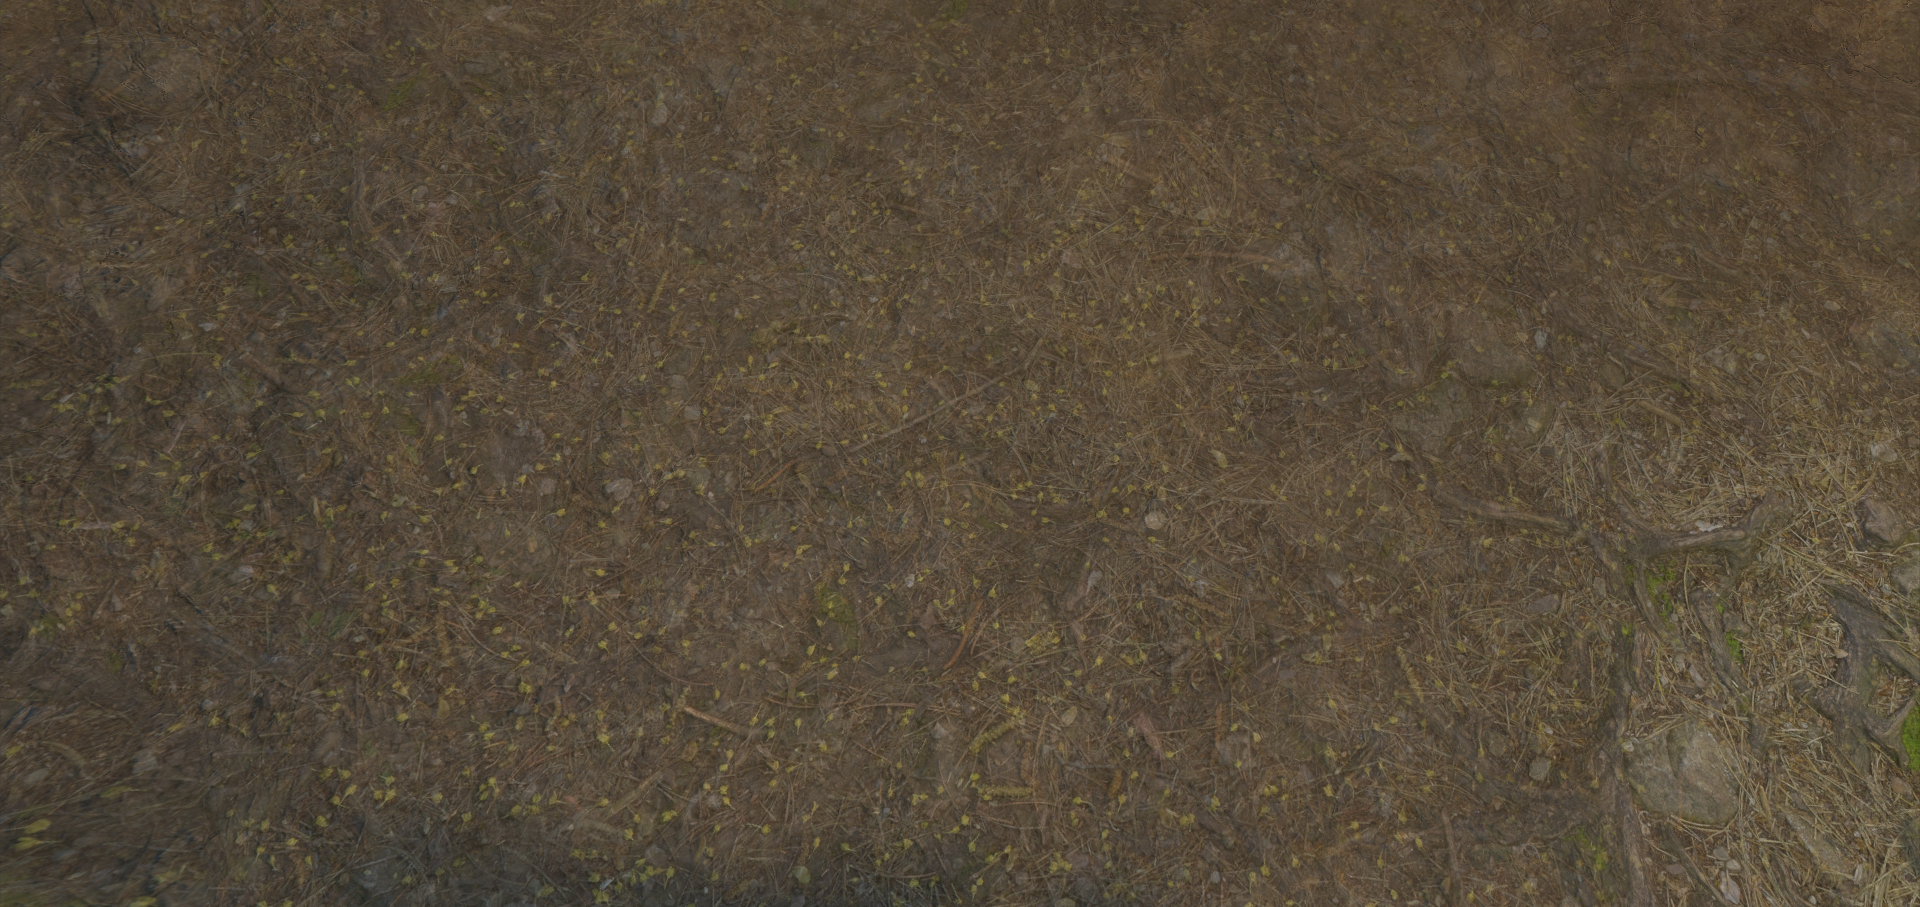
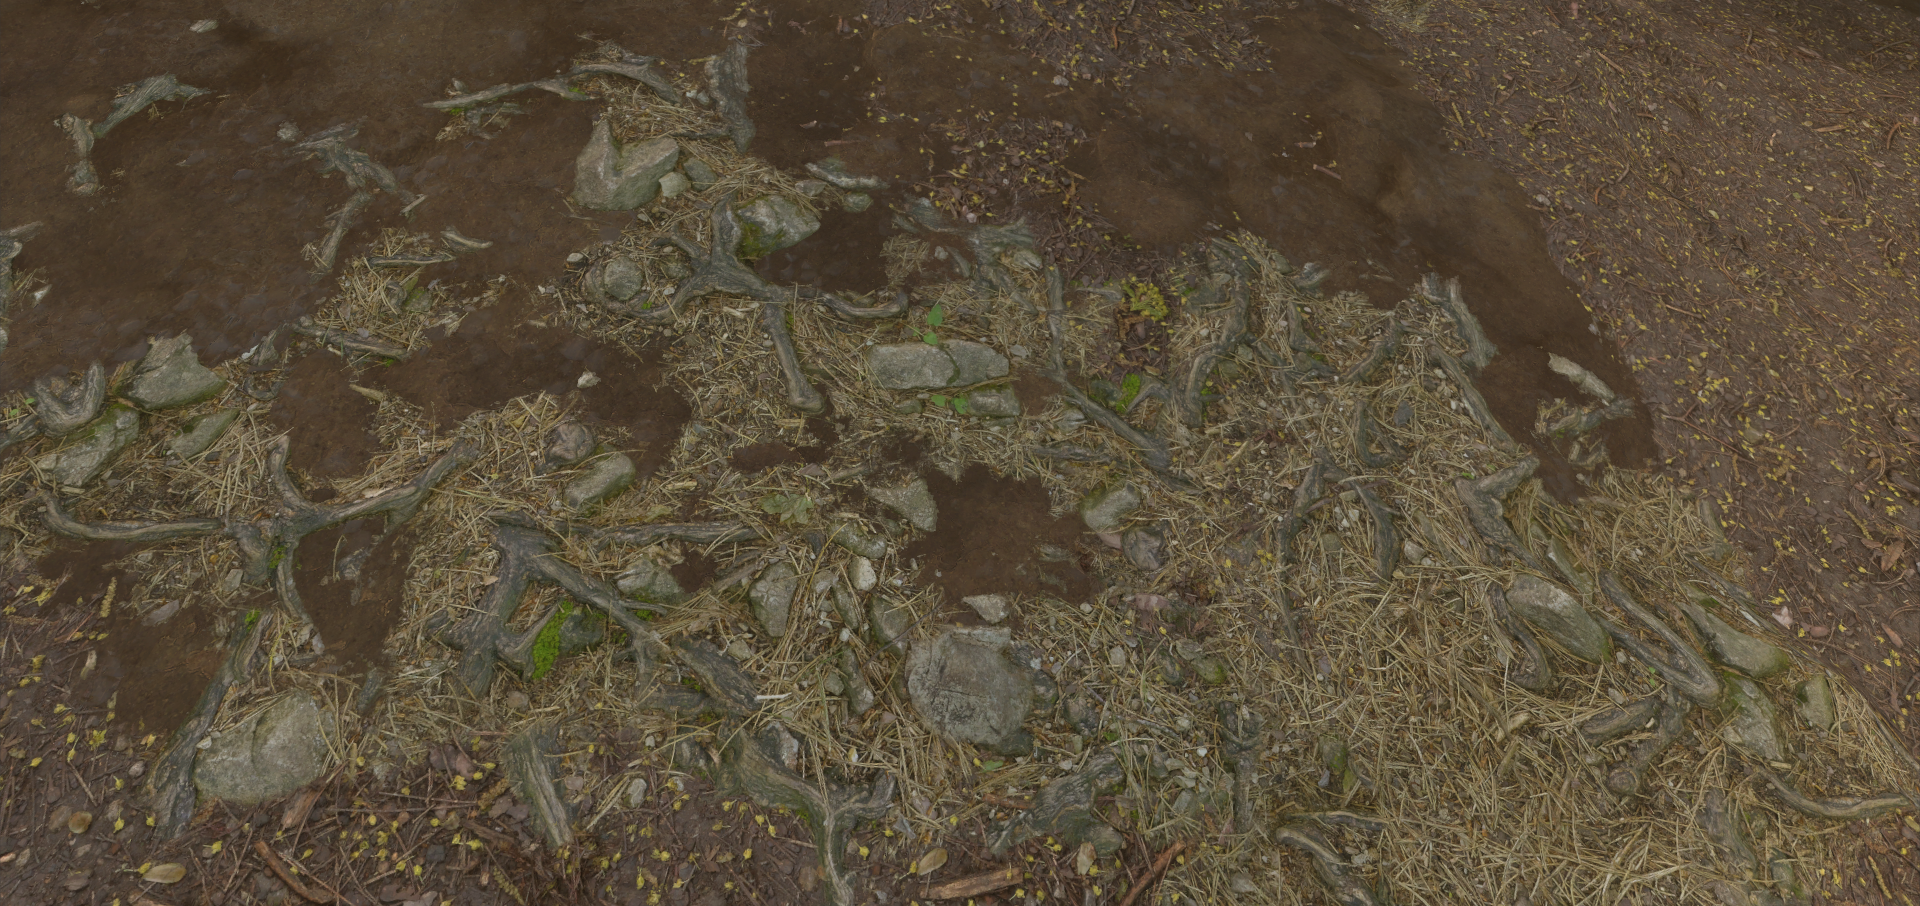
If I was actually using this scene I would probably increase the heightblend factor somewhat to soften the transitions, but it serves as a clear example of the differences.
heightblend.cginc
I’ve prepared a cginc include file which includes 2 way, 3 way and 4 way versions of heightblend for float, float2, float3 and float4 data. This file also includes heightlerp functions for each of these, although of course lerp only applies to the 2 way versions. The float4 versions also includes alpha weighted versions of the float4 methods.
The following package includes this cginc file and the 3 example shaders used for this post, with a few added improvements. Currently this doesn’t include any of the textures used in this post – if I manage to find any I’m sure can be redistributed legally I’ll add them to the archive.
Download “Heightblending - Shader Include” heightblend.cginc_.zip – Downloaded 2776 times – 5 KB
The cginc file is all you need to implement custom height-blending and height-lerping into any of your projects.
If you’re having any problems implementing these into a specific shader or would like to know any more information, just let me know in the comments.
Have fun!
